
Most experienced programmers are very comfortable using the terminal – also known as the Command Line Interface (CLI) to make changes to programs. They therefore use a program called Git to run a series of commands to modify, stage and commit their file changes. Here is an example of entering Git commands in the terminal taken from a tutorial intended to teach beginners how to use Git:

There are at least four major problems with using the terminal to teach beginners how to process code changes. The first problem is that most humans learn by associating new experiences with their previous experiences. The Command Line version of Git is so abstract that a beginner has nothing to associate it with.
The second problem is that entering commands in the terminal is also abstract. So entering Git commands in a terminal is an abstraction on top of an abstraction. It is like trying to teach Calculus to Third Graders. You are better off starting with addition and subtraction using oranges and apples.
The third problem is that the terminal is unforgiving. Even one word misspelled or one comma out of place and the whole process stops – often with the student having no idea as to what they did wrong or how to fix it.
The final and most important problem with expecting beginners to learn how to use the command line version of Git by entering a series of commands in a terminal is that most humans are visual learners. They learn faster and retain processes better when they have a graphical user interface to provide them with visual feedback. Failing to give beginners a graphical user interface means that many beginners will give up and conclude that Git is too complex and “over their head.”
This weeding out of beginners is harmful to open development projects because it means fewer people will be available to help improve the code of your open development program. Since our goal is to make it easier for beginners to learn how to modify, stage and commit files, we will use a graphical interface version of Git.
The best Open Source graphical interface for Git is a program called Git Cola which can be installed simply by going to the Debian Software Manager, doing a search for Git Cola and clicking Install.
How to Use Git Cola to Create your First Local Git Project
When Git Cola starts, it doesn't have any Git projects (which are commonly called Git repositories). Here is the Git Cola start screen:
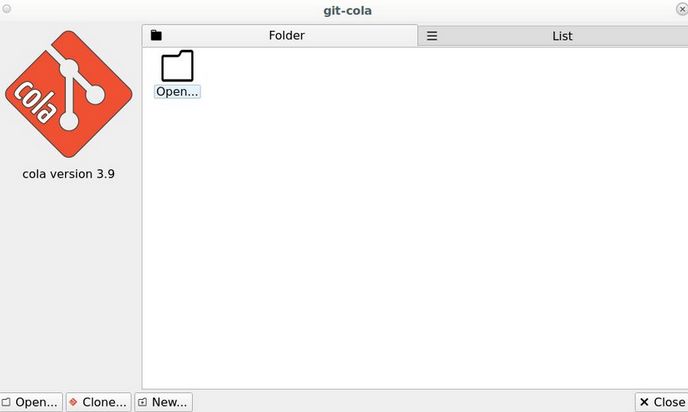
Just as a word processor like Libre Office Writer isn't of much use without a document loaded, Git Cola isn't very useful without a project loaded. If you have a Git repository you want to contribute to, you can clone it by clicking the Clone button in the lower-left Git Cola window. But if you are a beginner, it is better to start with something easier.
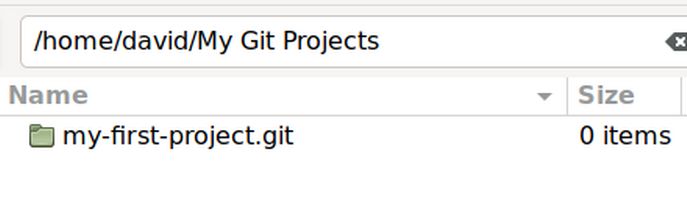
We will therefore assume that you are using a laptop with Linux Debian installed and we will begin by opening your Debian file manager and creating a new top level folder called My Git Projects. Then open your Git Projects folder and create another folder called my-first-project.git.
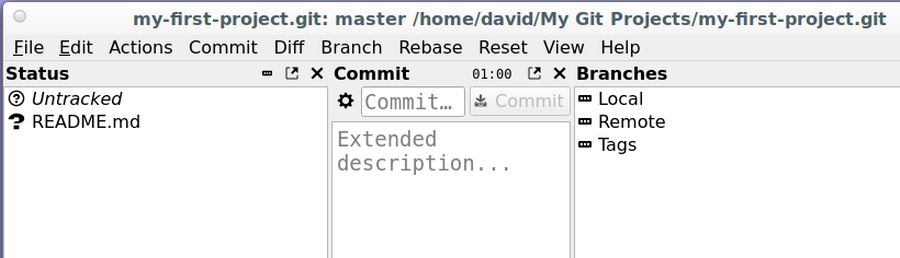
Then go back to Git Cola and click the New button which is telling Git Cola that we are going to start a new project. Then navigate to your first project folder and click Select. This will tell Git Cola to use this folder to hold all of the documents and files for this new project. Git Cola will then open a new screen with a top menu and four panels:
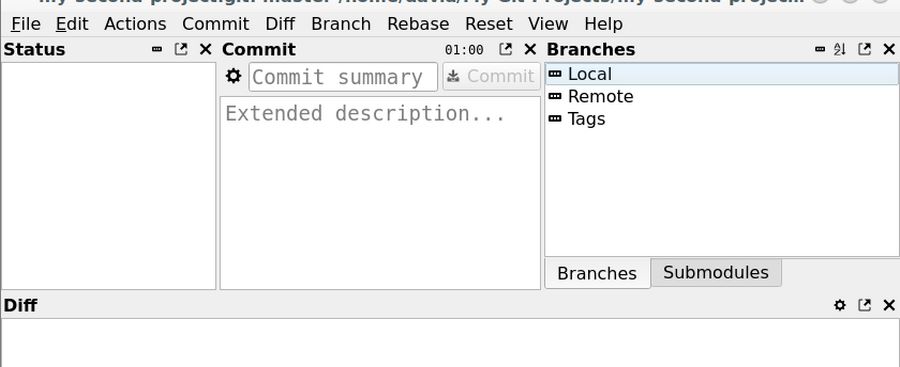
The panels are called Status, Commit, Branches and Diff.
File types compatible with Git
Git is primarily intended for use with text-based files. Technically, Git doesn't really care what kinds of files you add to your project. Its job is to track changes. But there's a catch: not all file formats are suitable for version tracking. In particular, Git is not a good tool to track changes to image files. Besides text files, there are many file formats that are based on raw text. For instance, HTML, MD and CSS are similar to text files with the difference being that instead of ending in TXT, they end in html, md or css. You can also use PHP, JSON or XML files. Here we will focus on text files which are the easiest files to start with.
Git Cola File Preferences
Before we add our first file, go to Git Cola, File, Preferences and add your username and email address so each can be recorded with every new commit you make:
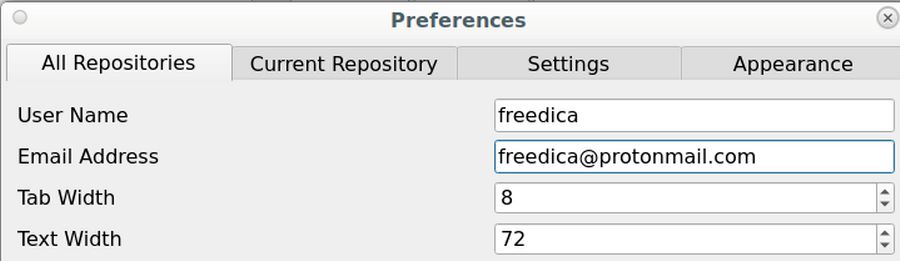
Normally, with a personal account, you would want to use your own name for the username and email address. This way, others would know who made the commits. However, because we are setting up an account for our project and because the username will become part of the Project URL, it is best to use the project name for the username. Then enter your secure project related email address. The Current Repository tab allows you to use a different name and email address for the current repository. We will skip this. The settings tab allows us to change the font family and font size. Because I have bad eyes, I will increase the font size from 12 to 14. The appearance tab allows you to change the theme if you want. Then click Close. There is no File Save button. So instead click File Refresh.
Review Project changes with your File Manager
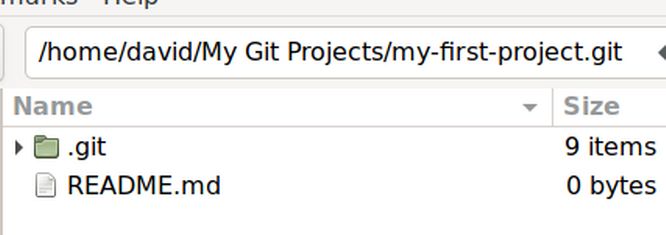
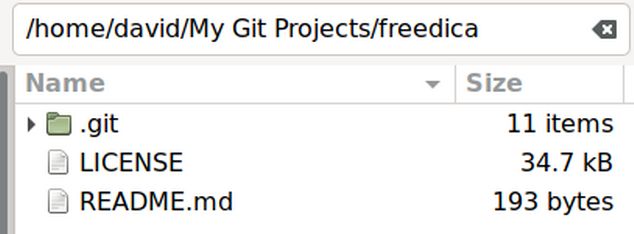
Open your File Manager and then open your first project folder and right click to display hidden files. You will see that Git Cola has added a hidden folder called dot git to your first project folder:

Open this hidden git folder to see 8 items:
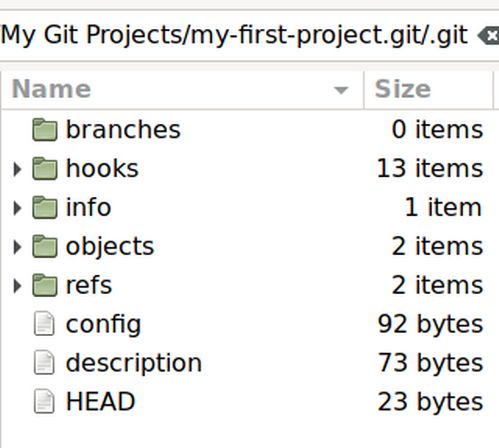
These five folders are where any changes you make inside your first project are tracked. Click on the config file to see what is in it. Sadly, the configuration file does not show our secure email address! It just shows the project name. This is because the configuration file is related to just this one project and we set up Git Cola to apply our email address to all of our projects. These global settings are stored in a different file in our file manager.
Three places where Git Configuration Files are saved.
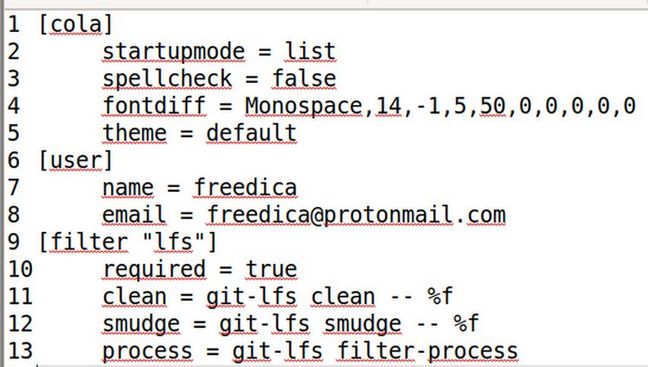
There are three places where Git Preferences are stored. Local preferences for your current project have the highest priority and are stored in the dot git config file as shown above. Global preferences which apply to all of your projects are stored in your File Manager Home directory in a hidden file called gitconfig. Click on your Home Directory and then scroll down to the bottom and click on .gitconfig to open this file. Here is what this file looks like:
The third place were Git settings are sometimes kept is System preferences. These are Git settings that apply to all users on your computer. These preferences are stored in your Linux File System etc folder. This file does not yet exist and will not exist unless you create some system git preferences. For now, close the .gitconfig file and go back to your first project folder.
Add a README file to your local project folder
Now that we have edited preferences, the next step for local development is to add files to our local project folder. Open your file manager and open your project folder. Then right click on the work space and click Create New Document, Empty document. Name the file README.md.
The extension md means this is a markdown file and we can use Markdown to make the words in the file look prettier. For now, we will just add text. Right click on the file and open it with a Text Editor. Then copy paste.
This is the README file for my first open source project. I will add more information about this project later when I get more time.
Click Save. Then click Close. Then close your file manager. Then in Git Cola, click Refresh. This will place the README.md file in the Git Cola Status panel with the word untracked above it.
Stage your new file
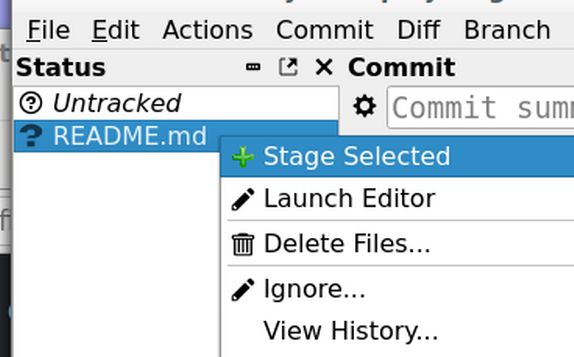
The first thing we do with a new file in Git is to stage it. Staging a file means you want to mark the file for inclusion in the next code commit. Staging a file can be undone if you change your mind. Also staging a file does not change your existing project data. Staging is just a way to keep track of files you later want to commit. Once you have a file in your project folder also known as a directory, it's listed in the Status pane of Git Cola. Right-click on the file and select Stage Selected.
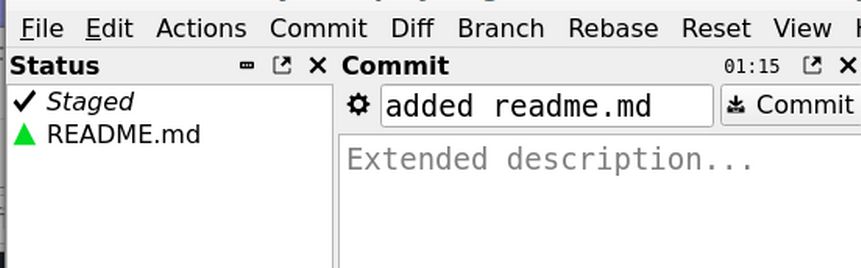
A staged file is marked with a green triangle next to its name. You can unstage a file basically the same way you staged it: right-click and select Unstage Selected.
Make a commit
When you're ready to commit a file to your project’s Git permanent history, you make a commit. A commit represents exactly what it sounds like: You're committing to having a file in your Git repository, as a permanent record. To commit all staged files, type a brief description of your work in the Commit text field. In this case, we will type: added readme.md Note: If you want to add more than one file, hold down the control key on your keyboard and select each file in the status panel.
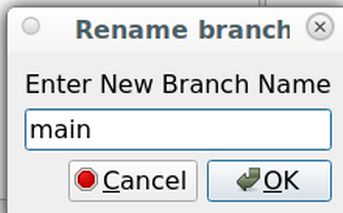
The words added readme.md is the commit message, which is visible in the project repository's Git log. This message explains to other team members why you made a commit to the git repository. Then click the Commit button. This action will save the changes made to your local repository and add a starred item (also known as a branch) called Master to your Local branches. Right click on the word Master and change its name to main.
We could share our Git Project file with other team members on Codeberg by by creating a new blank repository on Codeberg. However, there could be “History Mismatch” problems if we start out with a local project and try to transfer it to Codeberg.
We are therefore better off to start by creating the project on Codeberg and then connecting or copying our Codeberg project to our Home File Manager with Git Cola.
Recall that the URL for our first Codeberg repository was:
https://codeberg.org/Freedica-Friends/freedica.git
Click File Quit to close your local first project. Then open Git Cola again and click Clone.
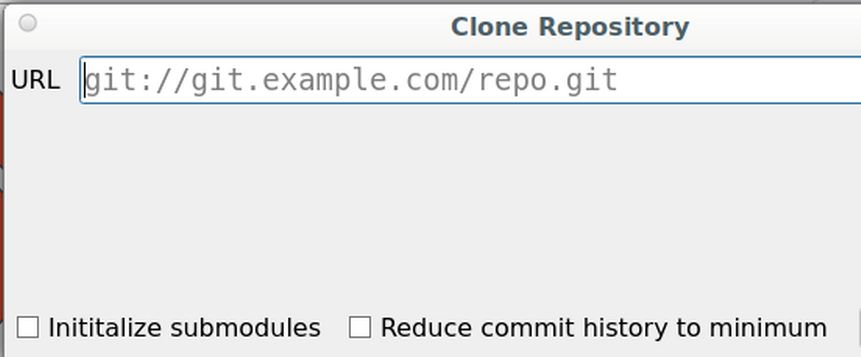
Paste the Codeberg clone URL in the box. Then click Clone. This will bring up a screen called Select Parent Directory.
Click My Git Projects folder to open it. Then click Open. This will import a copy of the freedica repository from Codeberg to your My Git Projects folder. On the Git Cola screen, it will appear that there are no files. Open your File Manager and open the project folder.
Now that you have connected your Codeberg project (also called the remote project) to your Home File Manager, you can now use your home file manager to work on your Codeberg Project off line.
When you create a repository on Codeberg, it exists as a remote repository. You can clone your remote repository to create a local copy on your computer – which will also sync between the two locations. To see the connection between your remote project and your local project, in Git Cola, click File, Edit Remotes.
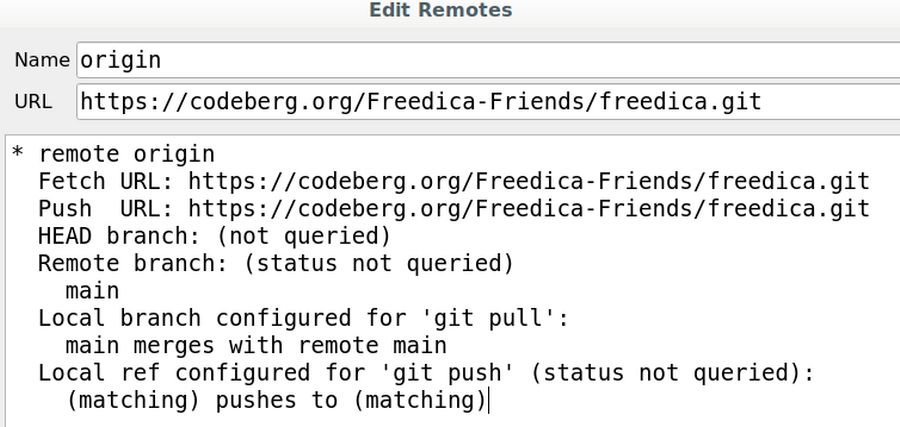
Note that the remote name is commonly called origin. The project organization name is Freedica-Friends and the project repository is called freedica.git.
Close this Edit Remotes file.
Edit the local copy of your project README file
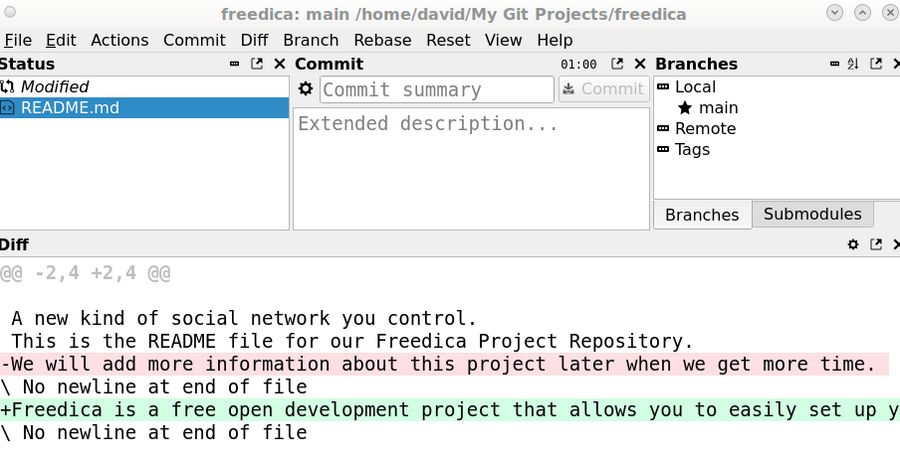
Open your file manager. Then open your Git Projects folder. Then open your freedica folder. Then right click on the README.md file and edit it with a Text Editor. The first line begins with a hash mark followed by the name of the repository. The hash mark means that the line will not be displayed. The next lines are the Description we already entered when we set up the repository in Codeberg. Delete the last sentence (we will add more information) and replace it by Copy pasting the following:
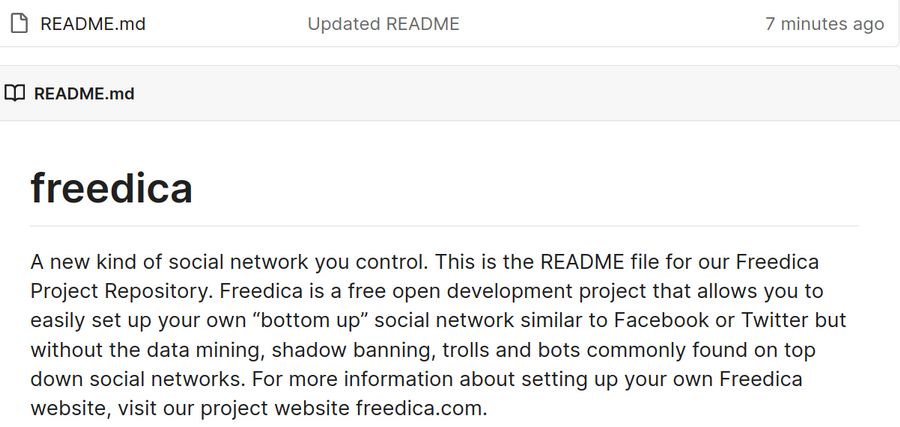
Freedica is a free open development project that allows you to easily set up your own “bottom up” social network similar to Facebook or Twitter but without the data mining, shadow banning, trolls and bots commonly found on top down social networks. For more information about setting up your own Freedica website, visit our project website freedica.com.
Then click Save and Close. Then close the file manager. Then open your project folder with Git Cola. In the Status panel, you will see that the README file has been modified. In the Diff panel, deletions are noted in pink and additions are noted in green:
Right click on this file and click Stage Selected – which will place a green triangle to the left of the README file and delete the text in the Diff panel.
Commit your changed file to your local repository
Type in the Commit summary box: Updated README
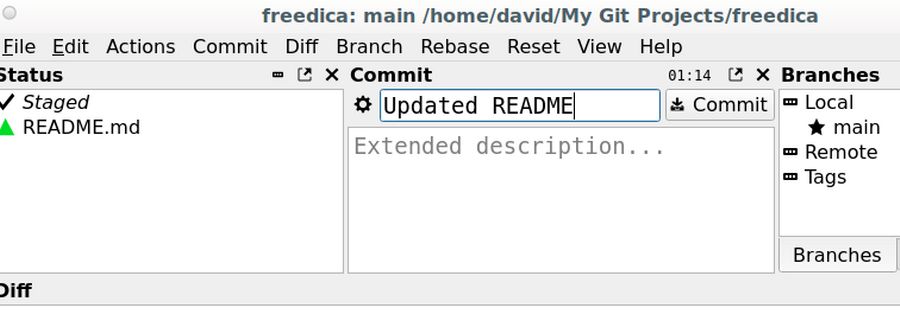
Then click Commit. This will commit all staged files to the Local Project folder. By committing your changes, you create a new step in the version history of your local program. Commits act like snapshots of your program's state at a given point of time, and you will later be able to jump back and forth between them. It is recommended to keep commits small and focused, so that, if necessary, they can be reverted without too many bad side effects.
Push your local changes to your remote Codeberg repository
To copy local files to your remote Codeberg repository, we need to “push” our commits to the remote repository. In Git Cola, click Actions, Push.
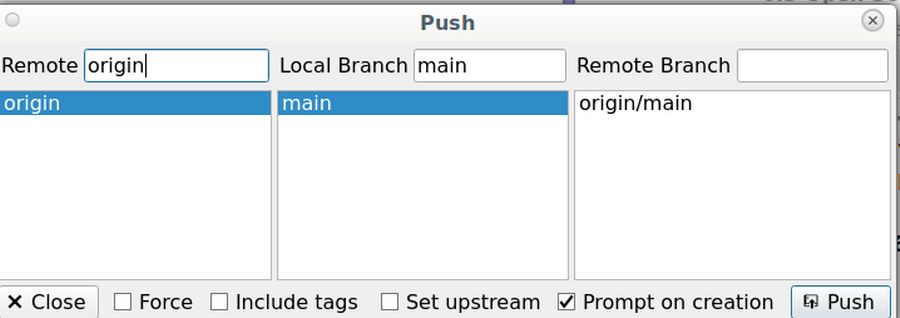
Git Cola knows that the Remote branch is called origin/main. Origin means that this repository was originally started on Codeberg and was called main. The local branch is also called main. Click Push. The following screen will appear:
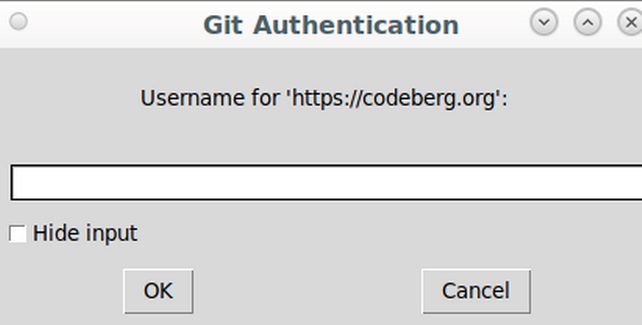
Enter your Codeberg Username. Then click OK. Then enter your Codeberg account password and click OK. Then log into your Codeberg account and go to your Codeberg Organization Repository and refresh the page. If all went well, you should see the local changes you made appear in your project Codeberg repository:
Update your Local Repository from the Remote Repository
Before we push new commits to the remote repository, we first need to make sure that all of the files on our remote repository are already synced with our local repository. If you're working with other people on a project, it's likely they'll commit files to the repository from their own computer. To keep your local repository in sync with your remote repository, you should regularly perform a git pull.
Let’s click on and edit the README file in Codeberg and delete the first sentence. Then scroll down and click Commit Changes.
You can then log out of your Codeberg account and close your web browser.
To pull this change, and any other changed made by other team members from your Codeberg remote repository to your local File Manager repository, in Git Cola, click the Actions menu and select Pull. This screen will appear:
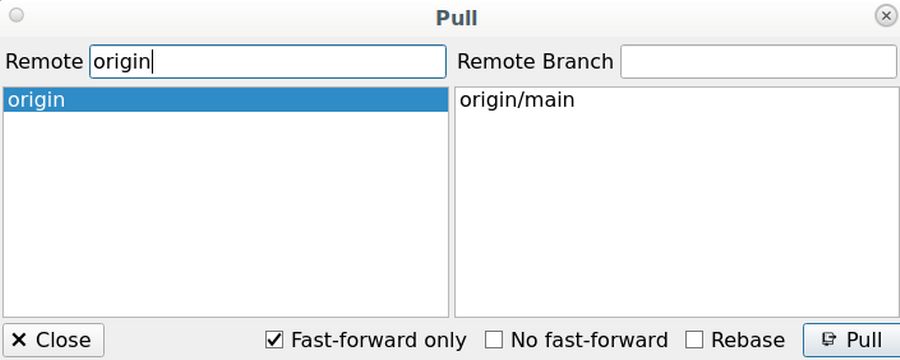
Click Pull. Then close Git Cola by clicking File Quit. Open your file manager and right click on the README file to open it with a Text Editor. You should see the changes you made remotely now on your local copy. Close the file and close your file manager.
What’s Next?
Now that we know how to make changes on our home computer and push them to our Codeberg repository, in our next chapter, we will review some final tips for using and managing your social network.