NextCloud is yet another free open source tool that offers a huge numbers of team building features that can help any group of people expand their network. NextCloud includes Jitsi video conferencing. NextCloud also includes a secure Document Sharing and Team Editing tool. But it’s most important tool for movement building is an easy to use Events Calendar for creating, promoting and managing events. In this article, we will review how to install NextCloud to the same VPS we used to install Joomla and Freedica. We will then explain how to use the NextCloud Events calendar to create, promote and manage your events.
Use Hestia to Install NextCloud
Before we use Hestia to install NextCloud, we need to go to CanHost and add an A record for the sub-domain to our primary domain, which in this case is freedica.org. We will add the subdomain “team”.
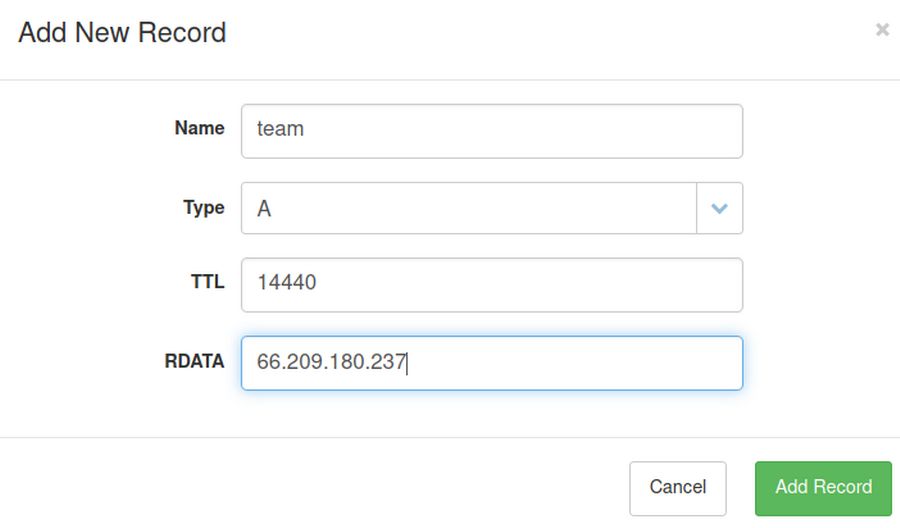
This will make the full URL to our NextCloud website:
We also need to download the latest version of the NextCloud installer. Go to this page:
https://nextcloud.com/install/#instructions-server
Then click Community Projects. Then click the word HERE in the sentence “Right click HERE and save the file to your computer. “
Then open your Hestia Control Panel and go to your network user account. Click Add Web Domain to add the subdomain you want to use for your NextCloud site. In our case, it is team.freedica.org.
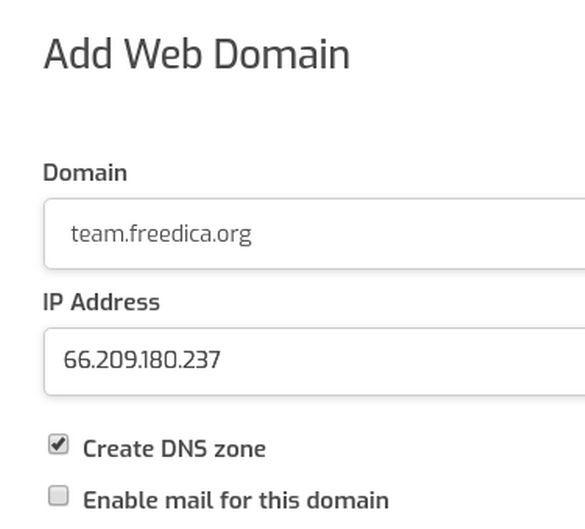
Check the box for Create DNS Zone. But do not click Enable Mail as we should not use mail on a sub-domain. Then click Save. Then click Edit to add an SSL certificate.
Use Hestia to create a Database
Click DB to go to your Database screen. Then click Add Database. Add a Database name, a Database Username and a Database password. Then click Save. Then Back. Then Files in the top menu.
Use the Hestia File Manager to load the NextCloud Setup File
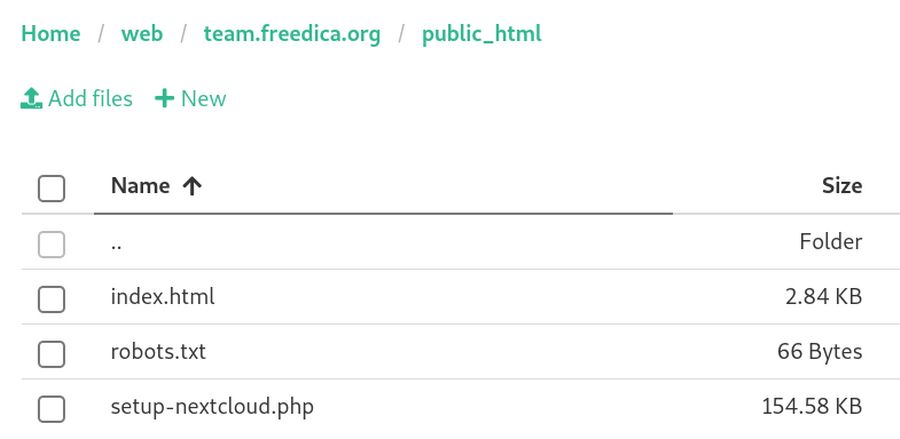
Click Web, then click your NextCloud sub-domain, then click public_html. Then click Add files. Then select the NextCloud Setup file:
Open a web browser and enter the Setup URL
In any browser, type in the URL: yourdomainname.com/setup-nextcloud.php (replace yourdomainname.com with your own domain name) to open the Nextcloud setup wizard. In our case, the domain name is: team.freedica.org/setup-nextcloud.php
Click Next. Nextcloud will run a check to ensure all the dependencies are met.
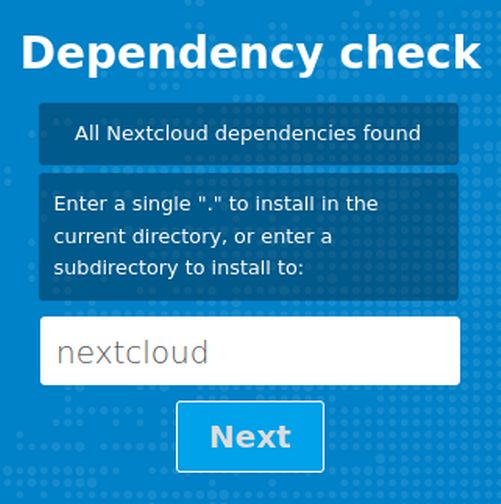
You can then install NextCloud whatever URL you want. By default, nextcloud wants to install to a folder called nextcloud. This would make the URL team.freedica.org/nextcloud. This is not what we want. To install in the root directory of your domain or subdomain, delete the word nextcloud and replace it with a single period.
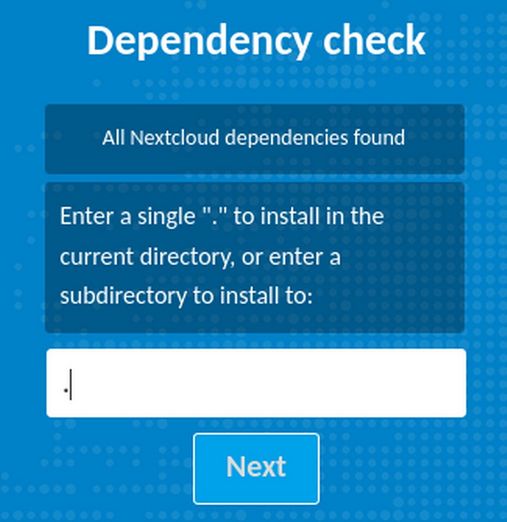
Then click Next. After a few moments, you should receive a message telling you that installation is successful. Click Next.
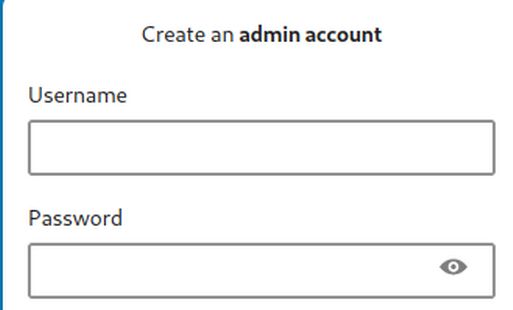
The next screen has three parts that need to be completed. The first part is the admin username and password:
The second part is the data folder location. By default with an Apache server, it is placed in the root folder in a sub folder called data. We will leave it there: /public_html/data
If you want to put the data folder somewhere else, you need to first create the folder with Hestia and then change the path during the Nextcloud installation at this point. Note that by default, the data folder has already automatically been created in the root folder and does not need to be added unless you want a custom location.
The third part is the database information:
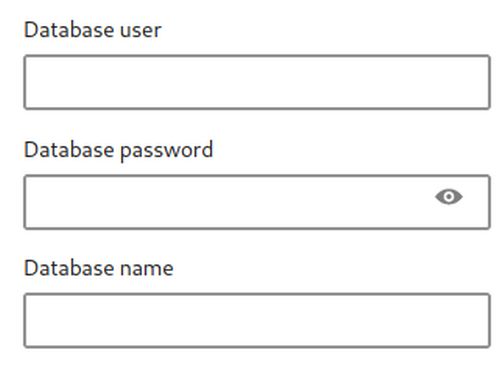
Copy paste the database username, password and database name into these boxes. They want us to specify a custom port number at the end of the local host name. For example, localhost:5432. We will leave it at localhost without a port number. At this point, you should ideally be connected to a high speed connection with an Ethernet cable. Then click Install. After a minute, this screen will appear:
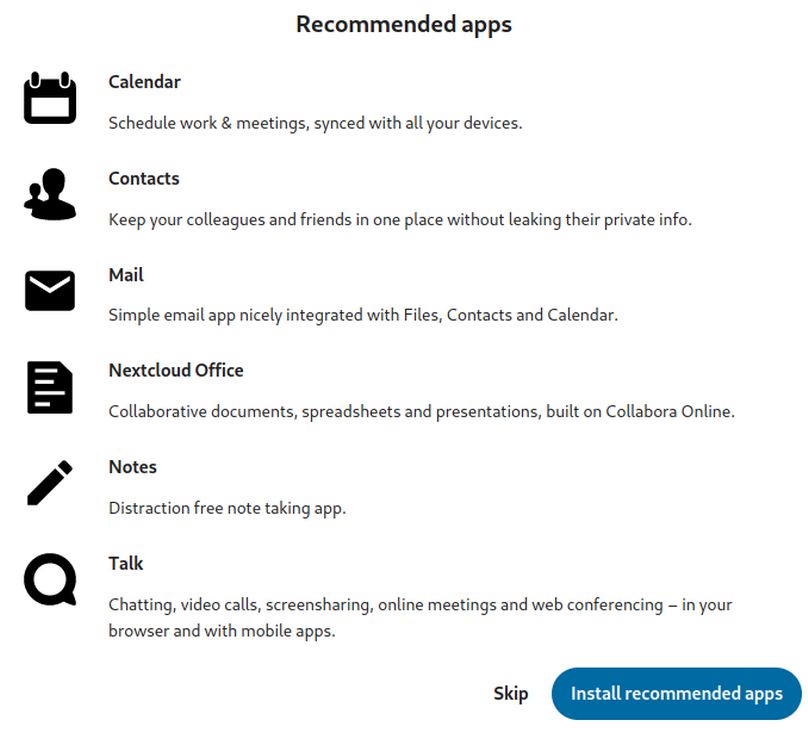
Click Install recommended apps. After a couple of minutes, a slideshow appears:
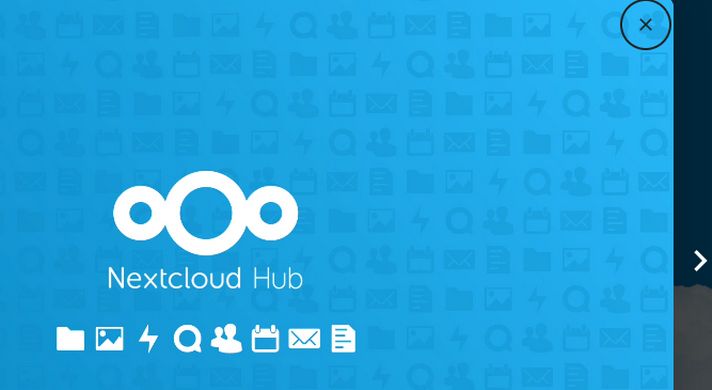
Click the right arrow. We will browse the apps store later. We will connect the calendar and contacts later and get the desktop app to sync files later. We will download the User manual and admin manual later. We will also look at the Nextcloud forum later. Click Start using Nextcloud.
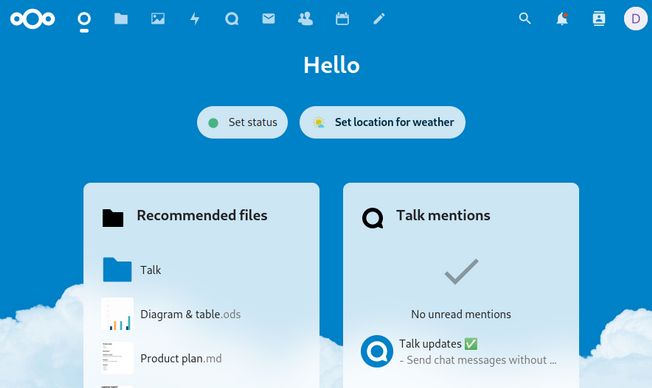
This brings up the Dashboard screen. Hover over the top menu icons to see they are: Dashboard, Files, Photos, Activity, Talk, Mail, Contacts, Calendar and Notes.

Add a NextCloud Freedica Events calendar
There are a lot of team building features in NextCloud. However, here we will just review how to use NextCloud to create, promote and manage Freedica events. Click the Calendar icon. By default, the timezone will be set for UTC. We can change this later in Calendar Settings. Here is our NextCloud Personal Calendar:
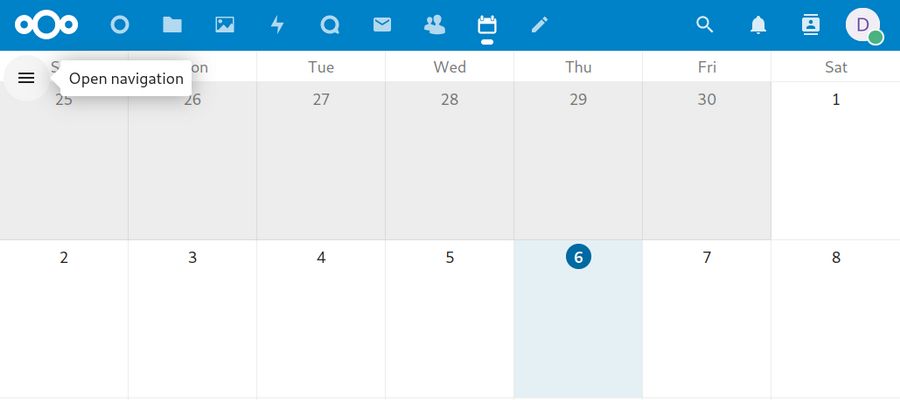
Click the Open Navigation icon.
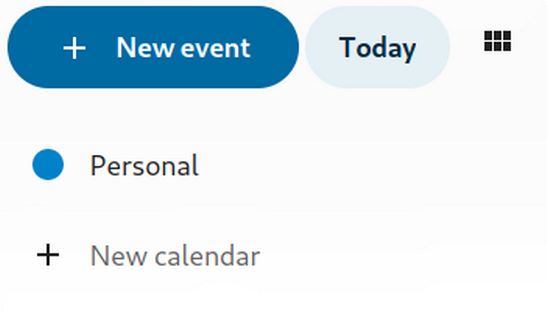
Then click New calendar:
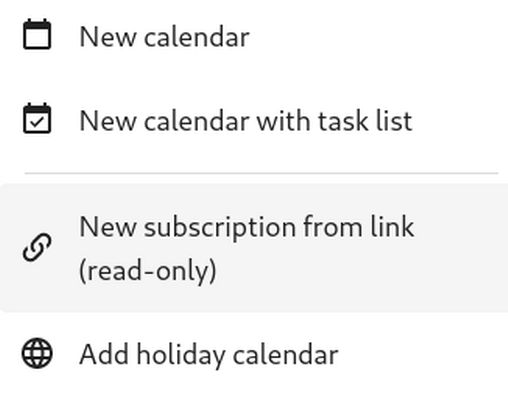
Click New Calendar. Then give it a name such as Freedica Events Calendar. Then press Enter. Then click on the Freedica Events calendar Edit pencil:
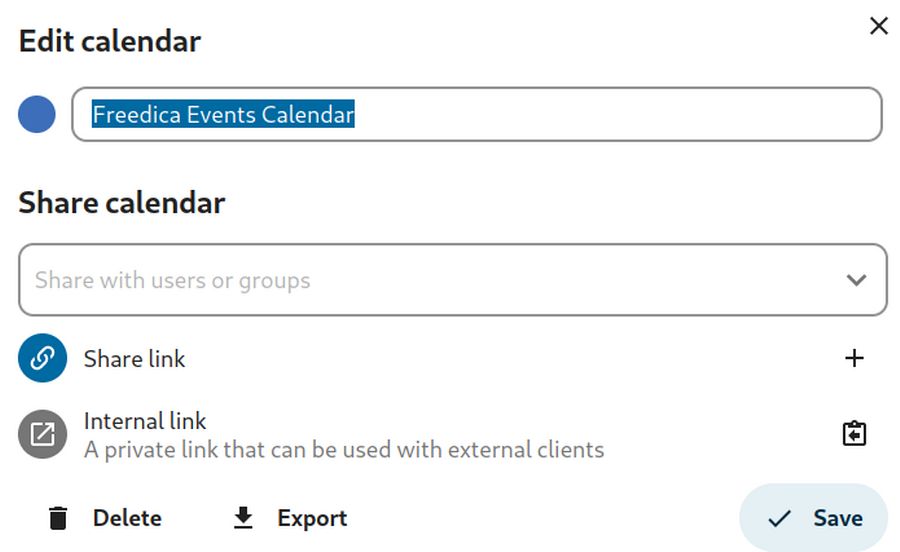
.Here you can share with other members of your NextCloud Team. You can also share a link with members who are not yet registered to your NextCloud team.
For now, close the Freedica Events Calendar Edit screen. Then click on Personal to deactivate the Personal Calendar. Then click on the next day in the Freedica Events calendar to create a Test Event. An event can be an appointment, a team meeting, a course video conference or a public event.
Click New Event. Give it a title and click on the Calendar box to change the calendar from Personal to Freedica:
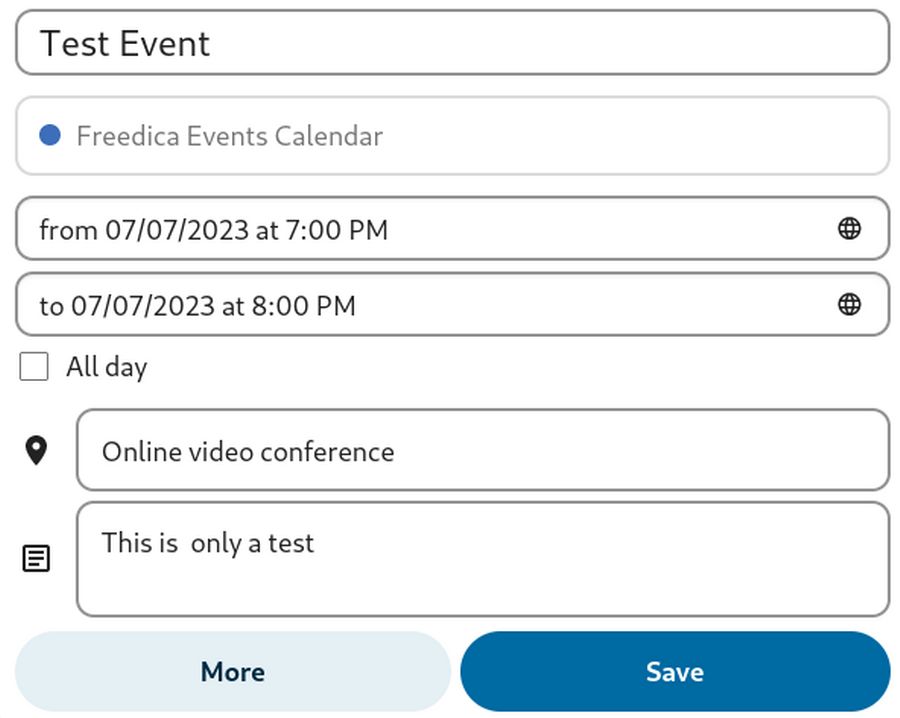
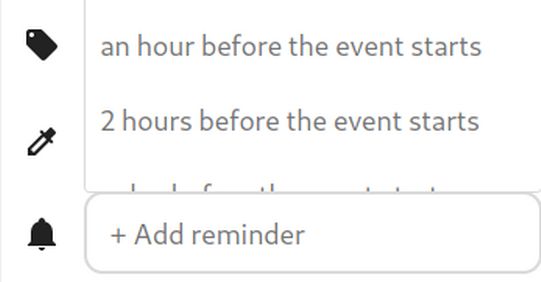
Change the time to the next day and set the hour in the From and To boxes. Then type in a Location and a Description. Note that the Description can include a link to your Jitsi video conference Meeting Room for this event. Then click More to open the optional Details panel. Click Add Reminder and click An Hour before the event starts.
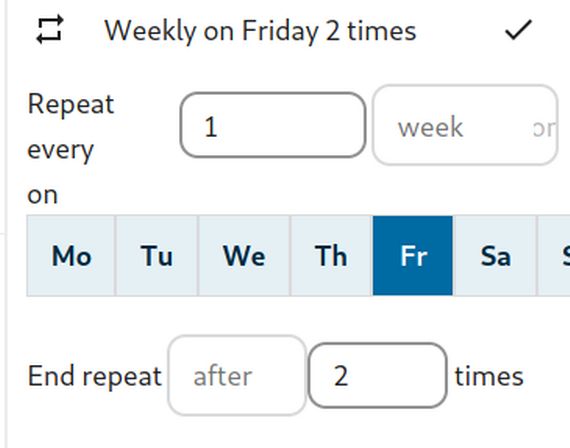
Then click Reoccurance and click Repeat on every Friday for 1 week.
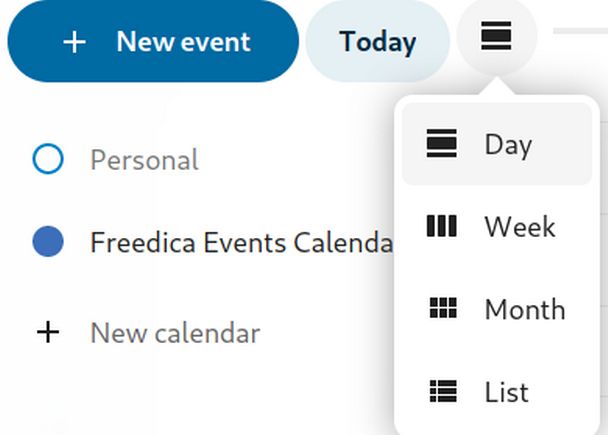
Then click Save. To switch from the Day view to the week or month view, click on the Black Box at the top of the left side panel:
Here is our two test events in the monthly view:
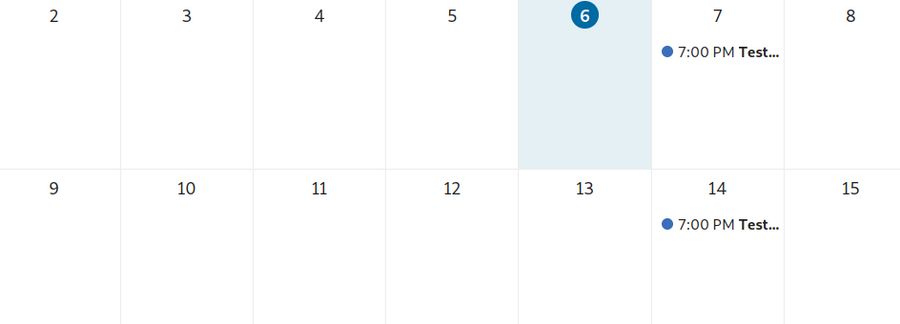
To view your event, click on the event.
You can create multiple calendars for different groups. For example, you can have a Public Events calendar and another calendar for your Leaders or other team members. You can also copy events from one calendar to another.
You may share your calendar with other users or groups. Calendars may be shared with write access or read-only. When sharing a calendar with write access, users with whom the calendar is shared will be able to create new events into the calendar as well as edit and delete existing ones. You add the name of a (Nextcloud) user or their email address and an event is created in the attendees calendar too.
You need to install an extra tool from the NextCloud App store in order for attendees to receive a notification when an event in a shared calendar was added, modified or deleted. Here is a link to this app:
https://apps.nextcloud.com/apps/event_update_notification
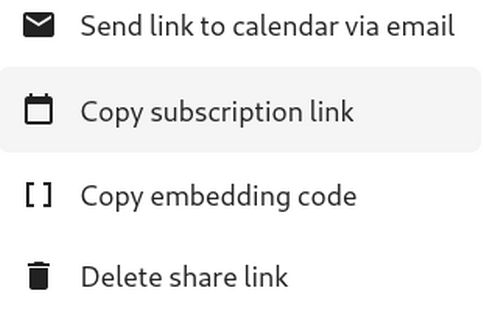
NextCloud calendars can be published through a public link to make them viewable (read-only) to external users. You may create a public link by opening the share menu for a calendar and clicking on « + » next to « Share link ». Once created you can copy the public link to your clipboard or send it through email.
There’s also an « embedding code » that provides an HTML iframe to embed your calendar into one of your network Joomla website pages. On this public website page, users are able to get the subscription link for the calendar and download the whole calendar directly.
You may add attendees to an event to let them know they’re invited. They will receive an email confirmation and will be able to confirm or cancel their participation to the event. Attendees may be other users on your Nextcloud instances, contacts in your address books and direct email addresses. You also may change the level of participation per-attendees, or disable email confirmation for a specific attendee.
When adding other Nextcloud users as attendees to an event, you may access their Free Busy information if it’s available, helping you to determine when is the best time slot for your event.
You can set up reminders to be notified before an event occurs. Currently supported notification methods are Email notifications and/or Nextcloud notifications.
There is a lot more NextCloud can do to help you build your team and promote your network. Hopefully, this introduction has given you a glimpse as to what NextCloud can do to help you promote your team events.
What’s Next?
For the Freedica network tool to continue to grow in the long run, it requires a group of people willing to put in the time needed to maintain it and a secure system for maintaining it. In the next chapter, we will review the community based system for developing and maintaining Freedica.