4.1 First Steps

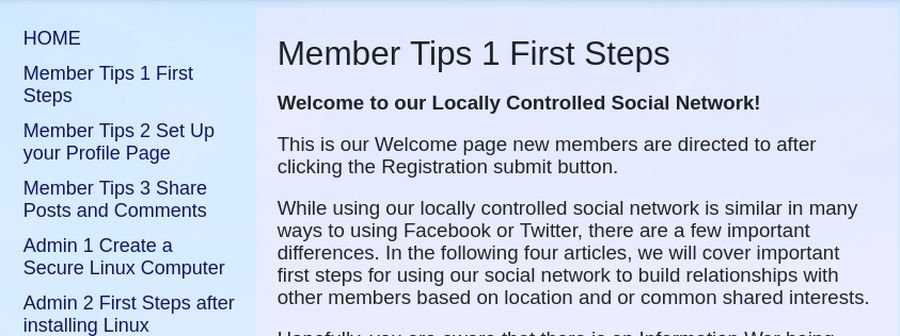
Welcome to our Locally Controlled Social Network! This is our Welcome page new members are directed to after clicking the Registration submit button.

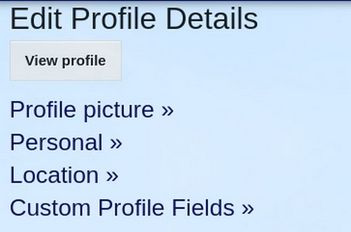
While using our locally controlled social network is similar in many ways to using Facebook or Twitter, there are a few important differences. In the following four articles, we will cover important first steps for using our social network to build relationships with other members based on location and or common shared interests.

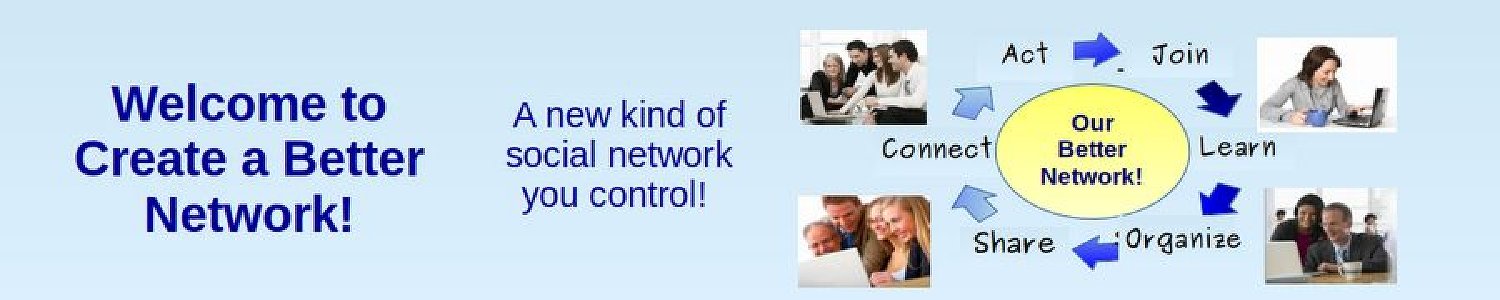
Hopefully, you are aware that there is an Information War being waged against us. Those waging this war use top-down Technology like Facebook and Twitter – networks filled with trolls, bots and fusion agents - as weapons to manipulate us by controlling what we read, what we are allowed to write and ultimately what we think. Using one of our free locally controlled networks to build real connections with your friends and neighbors is one of the first and most important steps you can take to get back your freedom.

Our goal is to provide you with a series of simple steps you can take to regain your freedom. The first step is to move away from Gmail (which is basically an insecure data mining tool) and replace it by getting a free secure Proton Mail address. While you can use any email address to register with our network, switching to Proton Mail is an important first step to protect your online accounts and passwords from being taken over by hackers.

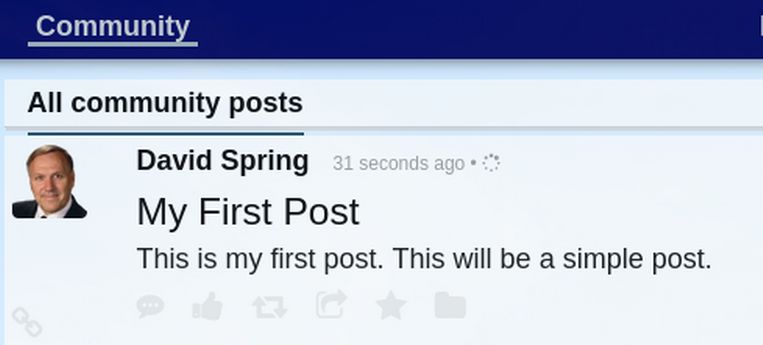
We will begin with a review of the registration process. You should enter both your first and last name. Then enter your email address twice on the registration form. For your nickname, please use lower case letters with no spaces. Below this is a box called “Note to Admin” where you should type a sentence or two explaining why you want to join our network. This is followed by a Member Directory box which by default is set to Yes. Including your name in the Member Directory will help others with similar interests find you. Then click Sign Up Now- which will bring you to this Welcome page.

4.2 Set up your Profile Page

Our Freedica social network comes with a default set of fields to fill out when creating your Profile Page. Most of these fields are searchable meaning that filling them out will help you find members who share your location, such as your State or School District or Congressional District. In addition, you can do searches and find new friends based on common shared interests. So there is a direct connection between your Profile page and your ability to build relationships with other members of our network. We have already added our Profile image. In this article, we will explain how to fill out your Personal Information, your Location Information and add one or more Custom fields.

Step 1 Fill out your Personal Information
Click Settings to reach the Edit Profile Details screen:

01

Then click Personal:

02

Leave the Display name set for the name you registered with. Then for Description, type one short sentence to describe yourself. In our example, I typed Website & Computer Security Instructor.

For Homepage URL, enter the URL to your Profile Homepage, for example https://network.example.com/profile/nickname. You can also just copy the URL in your Browser URL tab:

https://test3.freedica.com/settings/profile

Then delete the word profile and replace it with your nickname. In our example, this is

https://test3.freedica.com/settings/test1

The birthday field is optional. But the Important Issues field is very important. Important Issues are also called public key words meaning that they will show up in our network search engine. You should indicate 2 to 3 issues you feel are important as our network may eventually form groups to work on these issues. Place a comma after each issue. For example, here are three issues for our test1 member: stopendlesswars, rebuildoureconomy, restorefreespeech

Then click Submit.

4.3 Share Posts and Comments

In this article, we will first review how to a create simple post. We will then add a pinned post, a post with formatted text, a post with a link, a post with an image, a post with a video and finally a post with a Topic Tag which can be found by members doing a search with the Member Menu Search box.

Step 1 Create a Simple Post
Freedica does not have a character post limit. But you should still keep posts short. If you have lengthy information of more than a couple of paragraphs, you should write it as an article on a separate website and then post an introduction and a link to the main article. You can make a post from either the Conversations tab of your Profile Home page or the Network page. Either way, click on the Share box to create a new post.

01

Click on Set title to give the post a title such as My First Post. Then in the big empty box, type a short post.

02

Then click Share. Then click on Community to see the result.

03

Note that while you can create a new post on the Network page, you can only view posts on the Community page. So go back to the Network page to create a second post.

Step 2 Create a Pinned Post
A pinned post is a post that will stay at the top of the page. The pinned post will stay at the top of your Profile Home Conversations page, but not at the top of the Network page or the Community Page. It is most common to use a Pinned Post to introduce yourself to the group or to introduce the network to new members. Click Share to create your second post. For Title, type: Welcome to our Network!

For the description, copy paste: Our social network is under our control rather than being controlled by some billionaire. This post is an example of a pinned post that will stay at the top of my Profile Home Conversations page. To make your own pinned post, first share your post. Then click on the round Pin icon to pin your post to the top of your Profile Home Conversations page.

4.4 Create your own Freedica Help Articles

Freedica Help articles are included with your installation of Freedica. In this article, we will explain where to find these Help articles and how to edit them to match the needs of your particular network.

Helping your Members Connect to Help Articles on the Front End of your Network
After a person successfully registers for a Freedica Network, they are taken to our Welcome article which explains what will happen after their registration is approved. This Welcome article and several additional Help articles can also be reached by clicking on the Question mark in the upper right corner of the Network Home Page:

01

Information leads to information about the network. Directory leads to a searchable list of all of the members. Click Help to reach this page:

02

There are three Help articles for members. The Welcome article is called First Steps and explains how to create a Profile image and change the initial password. The second explains how to set up their member profile page. The third explains how to share posts and make friends.

There are also 8 Help articles for Administrators explaining how to securely install Freedica on a Virtual Private server and how to manage the network over time.