
It will be easier for readers to understand the structure of your Forum and the structure of your website if they are similar. One option is to make the forum categories identical to your website categories. Another option we will use here is a single section with several categories called Announcements, General Questions, Member Tips & Admin Tips. To create these categories, go to Kunena, Categories and click New Category. Before we can create our topic Categories, we need to create the top level Section. We will call this Section Freedica Forum:
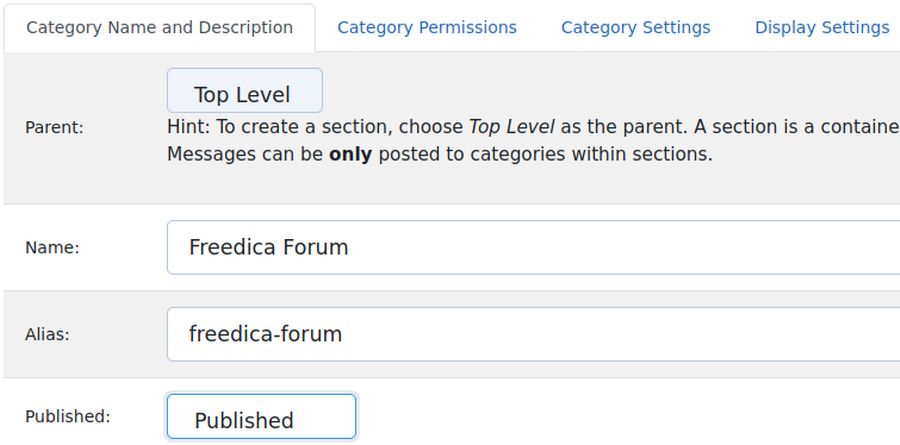
A Section has no parent. You simply give it a name. Then scroll down the page where you can add a Description and a Category Header. The Description is the main description for the Section. The Section Header is used to display additional information about the Categories of Topics the Section contains. Here is our description of our forum:
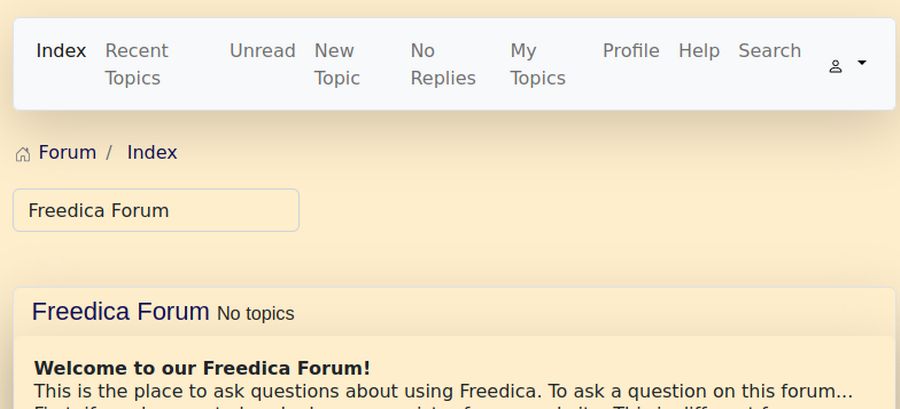
[b]Welcome to our Freedica Forum! [/b]
This is the place to ask questions about using Freedica. To ask a question on this forum... First, if you have not already done so, register for our website. This is different from registering for our social network. To register, go to MEMBER SIGNUP If you are already registered, click Login and type in your user name and password. Second, choose one of the forum categories below. Third, to start a new topic, click on NEW TOPIC. Fourth, give your question a Subject Heading. Then type your question into the Editor, then click Submit. It may take a few days to get a reply as we monitor this forum about once a week. If you need an immediate answer, email our forum administrator, David Spring
Here is the Category Header for our Forum Section: This is our main forum section. It serves as a container for categories which in turn are containers for our topics. This section header box is used to display additional information about the categories it contains.
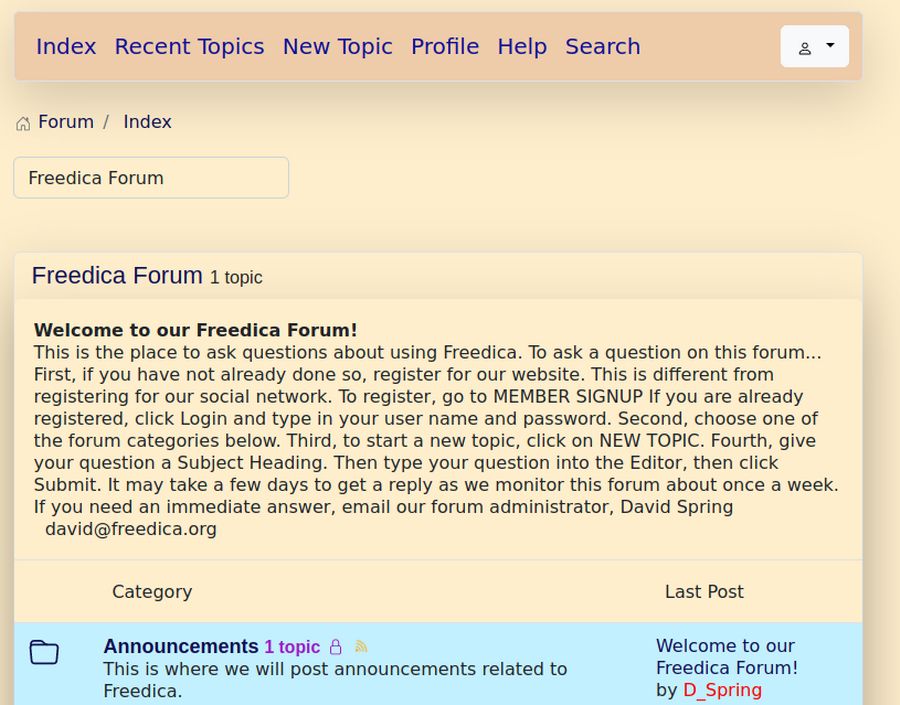
Then click Save and Close. Then view the result in the front end:

Note: The Section Header only displays when you click on the Section. If you click Member Forum or Index, then just the Section Description is displayed not the section header.
Create Categories
Before you can post or create a new topic you must first choose a category for your new topic or question. When a new discussion topic is created by you or by a viewer, it can be assigned to any existing category by clicking on the category the creator of the post wants the thread to be placed under. But it is up to you as the Administrator to create the actual categories that topics are assigned to.
Create a first Category called Announcements.
To create a new Category, click New Category. Change the Parent to Freedica Forum. Name it Announcements and type announcement for the alias and change it to Published. For Description, type:
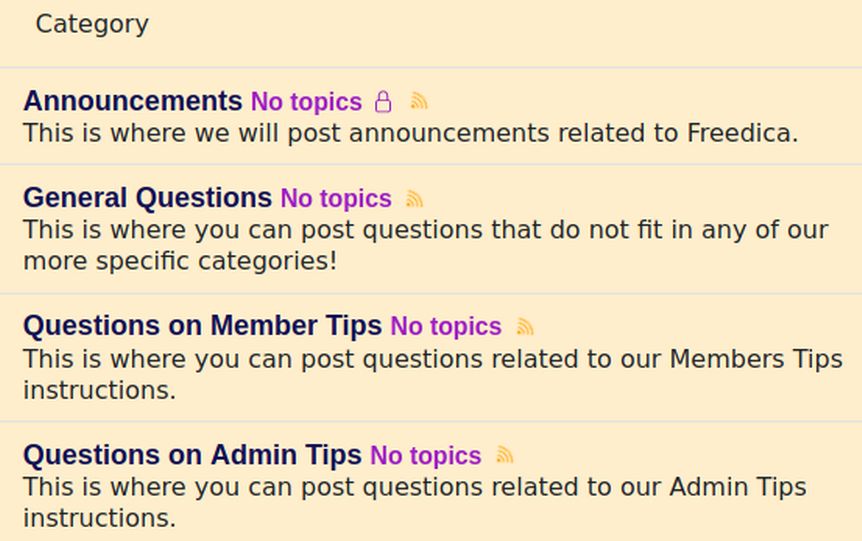
This is where we will post announcements related to Freedica.
Then click on the Category Settings and change Locked from No to Yes. This will prevent anyone but administrators from posting to the Announcements category. Then click Save and New. Call the second category General Questions. Change the Parent to Freedica Forum. For Name, type General Questions and for alias type general-questions. Then publish it. Then scroll down and add the Category Description: This is where you can post questions that do not fit in any of our more specific categories!
Then click Save and New. Call the third category Questions on Member Tips. Change the Parent to Freedica Forum. For Name, type Questions on Member Tips and for alias type member-tips. Click publish. Then scroll down and add the Description: This is where you can post questions related to our Members Tips instructions.
Then click Save and New. Call the fourth category Questions on Admin Tips. Change the Parent to Freedica Forum. For Name, type Questions on Admin Tips and for alias type admin-tips. Then publish it. Then scroll down and add the Category Description: This is where you can post questions related to our Admin Tips instructions.
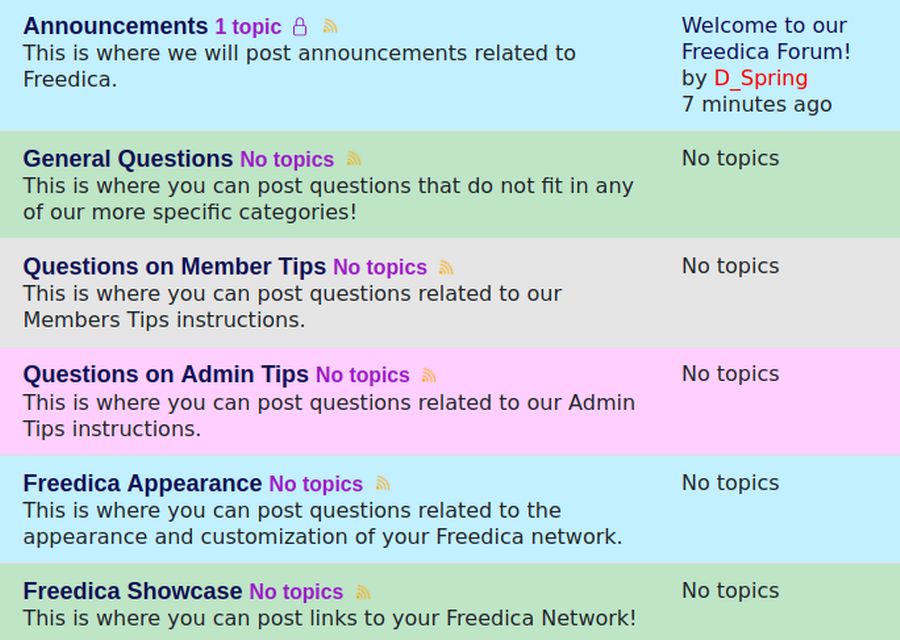
Repeat to create Categories for Freedica Appearance and Freedica Showcase. Then view the result:
Why we do not use a Category Header
The Category Header only appears on the page for the category it describes. But there is a Category description above this Category Header. Because category headers can create confusion, we will not use them on our forum. If you do not want the category header to appear, then simply leave the category header box empty.
Add your First New Topic
Now that we have added our forum categories, our next task is to create a Welcome to our Freedica Forum topic. Log into the front end of your website as a Super User. Then click on Freedica Forum. This will bring up a Forum Menu with several menu items:
Click on the Announcement category.
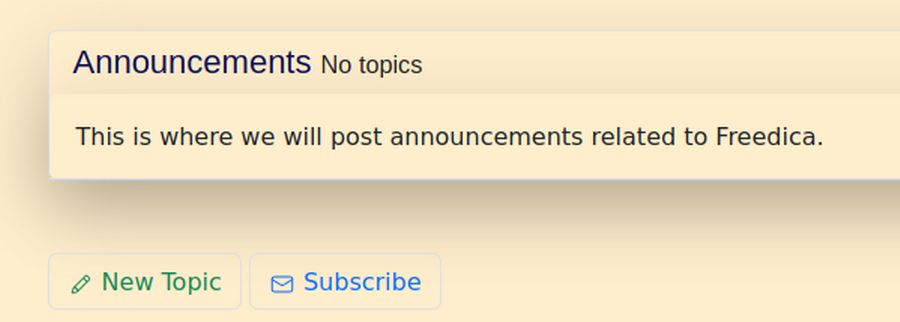
Then click New Topic.
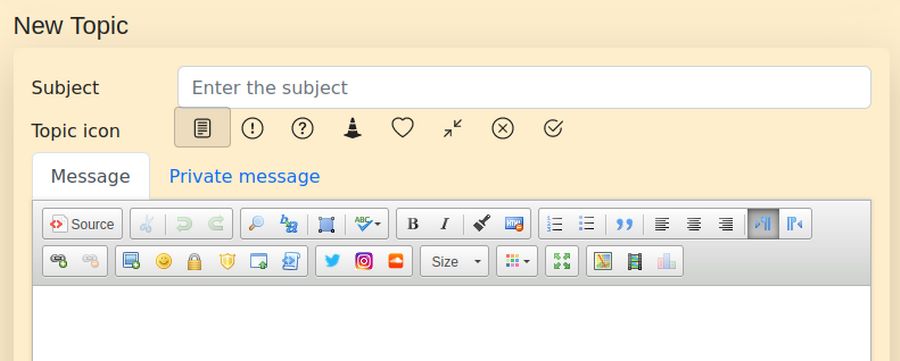
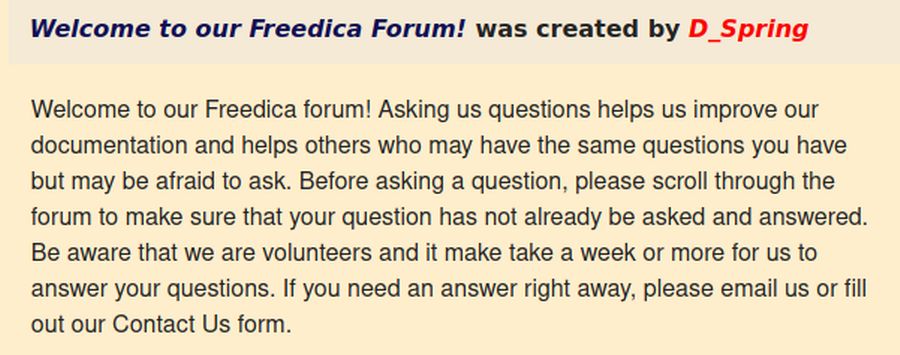
For Subject, type Welcome to our Freedica Forum! For Message, type or copy paste:
Welcome to our Freedica forum! Asking us questions helps us improve our documentation and helps others who may have the same questions you have but may be afraid to ask. Before asking a question, please scroll through the forum to make sure that your question has not already be asked and answered. Be aware that we are volunteers and it make take a week or more for us to answer your questions. If you need an answer right away, please email us or fill out our Contact Us form.
Then click Submit. If you are logged in as the moderator of the forum, your new topic will immediately appear in the forum.
Customize the Appearance of your Forum
Kunena Forum has a built in ability to color individual categories one of five preset colors. This allows you to have different colors for different categories. Go to COMPONENTS > Kunena > Categories. Click on the category you want to color to open it. Then scroll to just above the Category Description box:

In the box called Category CSS Class Suffix, add one of these six class suffix: -blue -yellow -grey -red -pink -green
It is important to include the dash (with no spaces) just before typing in the color. Then click save. Note that color coding is not possible on the SECTIONS. So only make these changes on the CATEGORIES. When we are done, our Forum Home Page now looks like this:
Hide some logged in member menu items
Too many Forum menu items can confuse new members. Go to the Kunena menu and unpublish Unread, No Replies and My Topics.
We will also increase the font size of the Kunena Menu items and change the background color of the forum menu bar to make the forum menu items more readable. From the Joomla Dashboard, click Template Code. Then click on the Helix template. Then click on the CSS folder. Then copy paste the following into the custom.css file: .navbar {font-size: 20px; background-color: #eeccaa !important;}
.nav-link {font-size: 20px; color: #111199 !important;}
Click Save and Close. Click Freedica Forum. Login to view the result:
Edit the Kunena Template Settings
Click Components, Kunena, Templates. There is a template called Aurelia that controls some of the Forum settings. Select it.
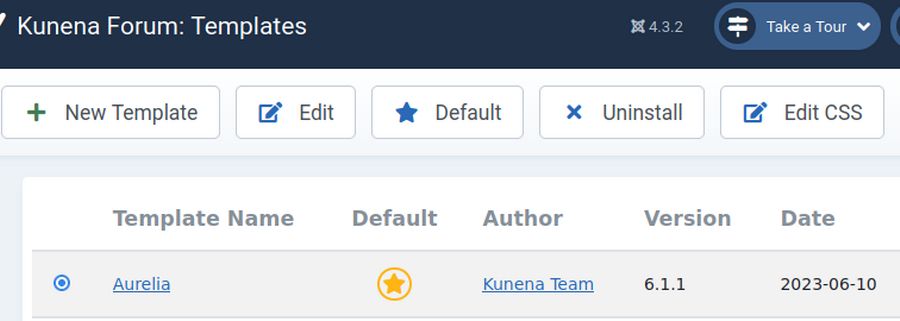
Then click Edit. Then click the BB Code tab. Turn off the following buttons. Sub script, Super script. Ebay, Instagram, Soundcloud. Then click Save and close.
Customize the Login Form
Go to Users, The login form has a Remember me box that is a security risk.
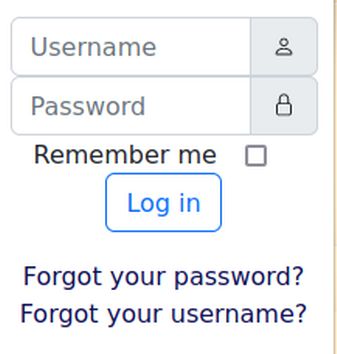
Add this line to the custom.css to hide this box:
#kform-login-remember {display: none;}
Create a custom Member Signup form
Go to Users, Manage, Options and click Allow User Registration. Then click on the Password Options tab and change Minimum password length from 12 to 8. Then click Save and Close and click the forum login button again. You will see a new option called Create an Account. Click on this option:

All it takes to register as a forum member is a name, a username and an email address. Members can register with the same name, nickname and email address they used to register for our Freedica social network.
Fix Slideshow on Registration form problem
Sadly, the slideshow appears at the top of the Registration page. To hide the slideshow from appearing on the registration page, go to the Kunena menu and create a new menu item of type Users, Registration form and call it Member Signup. In addition, to hide the slideshow from appearing on the Login page, go to the Kunena Menu and create a new menu item of type Users, Login Form called Member Login. These menu items will not be shown in the Kunena front end menu. But their existence will prevent the slideshow from appearing on these pages.
Change Kunena Edit Profile Web site Name to Freedica Network Name
When a new member edits their Profile Page, one of the options is to fill in a Web site Name and URL:
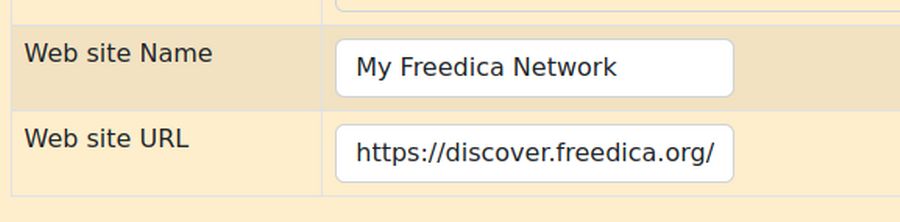
Because our Freedica Forum is all about helping people with their Freedica Networks, it would be very helpful to give members an easy way to indicate the name and URL of their exact Freedica network. This information will then be shown to the left of their posts and just below their profile image – giving us a quick way to view their network. To change the text “Web site Name” to Freedica Network Name, in the Joomla back end, go to System, Manage, Language Overrides. Select English, Site. Then click New. Type Web site Name in the Search box and click Search.

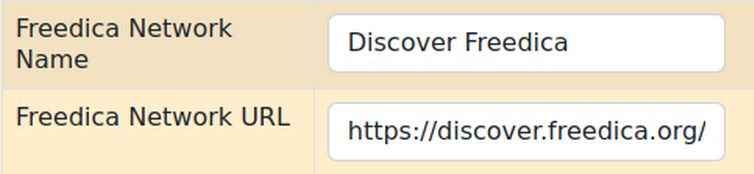
Click on COM_KUNENA_MYPROFILE_WEB_SITE_NAME to select it. Then change the text to Freedica Network Name. Click Save and Close. Then click New. Type Web site URL in the Search box and click Search. Click the result to select it. Then change the text to Freedica Network URL. Click Save and Close. Log into Kunena and edit your profile to view the result:
Then go to a post and click on the More button below the member avatar. Hover over the website icon to see the name of the members Freedica network. The “About Me” sentence below the avatar comes from the Kunena Member Profile edit page:

Click on the website icon to go to that members Freedica network.
Add a non-Google Spam Filter
To reduce spam, we will use a Captcha Free Joomla plugin. Go to:
https://www.aimy-extensions.com/joomla/captcha-less-form-guard.html
Click Download Free. Then install the plugin. Then click Activate and Configure plugin. Enable the plugin. Then click Save and Close.
Register a new Test user to verify that the registration form works. This popup form should appear:
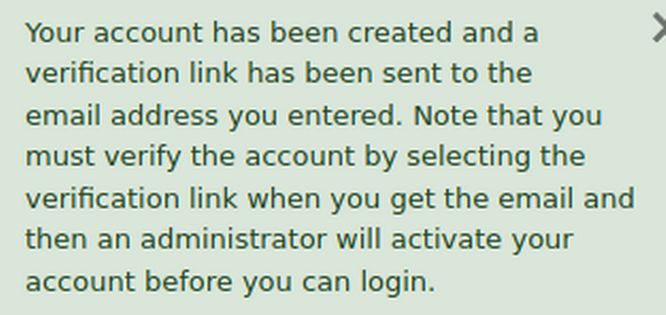
Login to your email address and verify the link.

As admin, you will get an email notification that a new member needs verification. Click on the link to activate them. Alternately, log into the back end of your website as an admin and go to Users Manage. You should see a new user. Select them and click Activate. Then log into your email account again to see the second email. Then log into the forum as the test member. The new member should now see several forum menu items where they can create a new topic or do a search or click on their profile page to add their profile image.
What’s Next?
In our next article, we will review how to manage your Kunena Forum.