
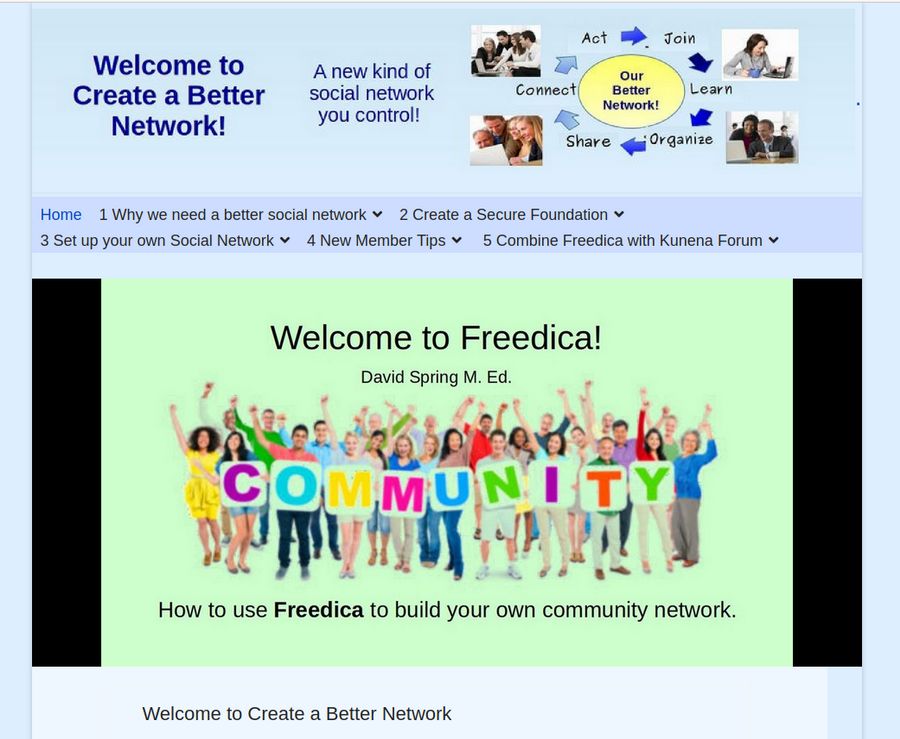
One of the most important modules for any website is the Home page slideshow. Like the Welcome article, it can introduce your readers who are more visually oriented with a summary of why they should spend time on your website. Here is what our Home Page will look like after creating this slideshow:
Note that the slideshow module is below the Menu module and above the Home Page Welcome article. Each of 14 slides displays for about 9 seconds. Therefore, it takes about 2 to 3 minutes to watch the entire slideshow. Those who are more visually oriented might just watch the slideshow. Those who prefer reading can read the Welcome article. Either way, your website visitors will better understand what your website is about and why they should spend more time visiting the various web pages on your website.
Create Slideshow Images
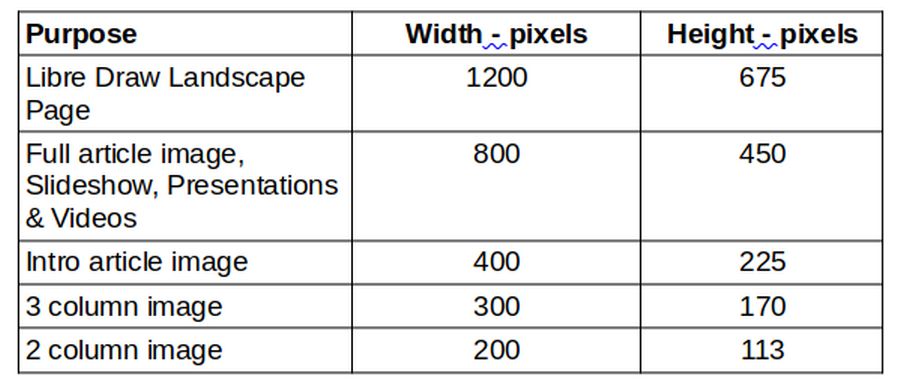
We will begin by creating our slideshow images – many of which can be taken from your Home page welcome article. We have previously created several featured images for various articles. These are 1200 pixels wide by 800 pixels high and compressed these to 150 DPI. We will use these and create a few more. However, because we want to use our slideshow images to create videos for our business video channel, we will change the ratio to 16 by 9 and therefore change the images to 1200 by 675. We will then resize these images to 800 x 450 to use for our slideshow – and we will resize these further to create images 400 pixels wide, 300 pixels wide and 200 pixels wide to use for our Intro article image, 3 column image and 2 column (side by side) image. Here is a table summarizing these image sizes – all of which are 16 by 9 ratio.
Create Slide Images with Libre Draw
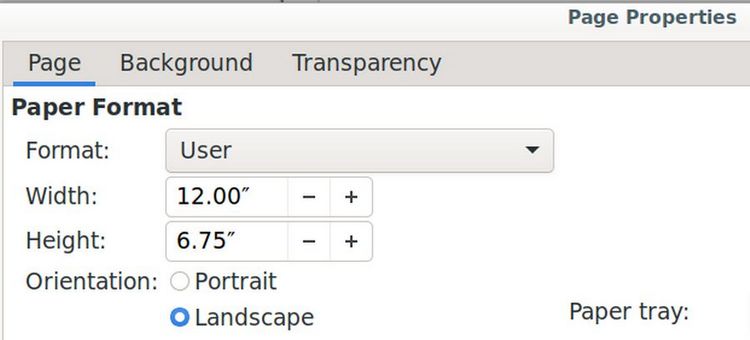
Before we can post our network promotional video, we first need to make the video. And before we make our video, we need to create the visual images that will form the content of the video. A simple effective way to create slide images for your video is to use a free tool in Libre Office called Libre Draw. Libre Office is completely free and is included with Linux Debian. To create a new Drawing, open Libre Writer and click File, New, Drawing. This will bring up a slide set for Portrait, Letter 8.5 inches wide by 11 inches high. Because we will be creating images for videos, we want the image ratio to be 16 wide by 9 high.
Create a New Slide Template
We could go to Page, Page Properties and change the Page Format to 16 by 9 (or 12 by 6.75) for each slide we make. However, because we will be creating a lot of images, it is better to create a new slide template so that it is already set to a ratio of 16 x 9.
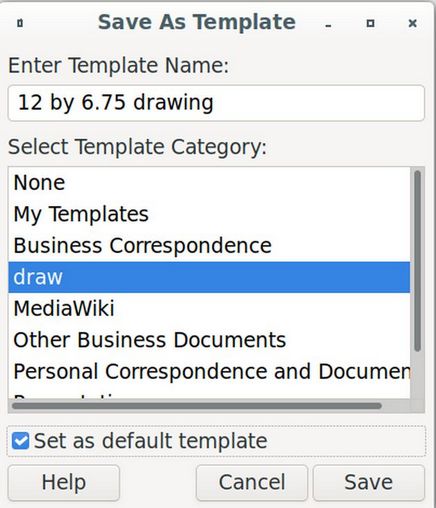
Click on Background and give it a color of #eeeeee – which is light gray. Then click OK. Then click File, Save as Template. Name the template 12 by 6.75 drawing and place it in the draw folder. Then check Set as Default Template and click Save.
To see if it works, close the Libre Draw document without saving it and open a new Libre Draw document. Click Page, Page Properties. Then add your text and images and save the drawing with two digit numbers at the beginning of the file name, for example 01-welcome, 02-next-image to keep the images in order.
Use Libre Draw to Combine Text and Images
Below is our first Libre Draw slideshow document:
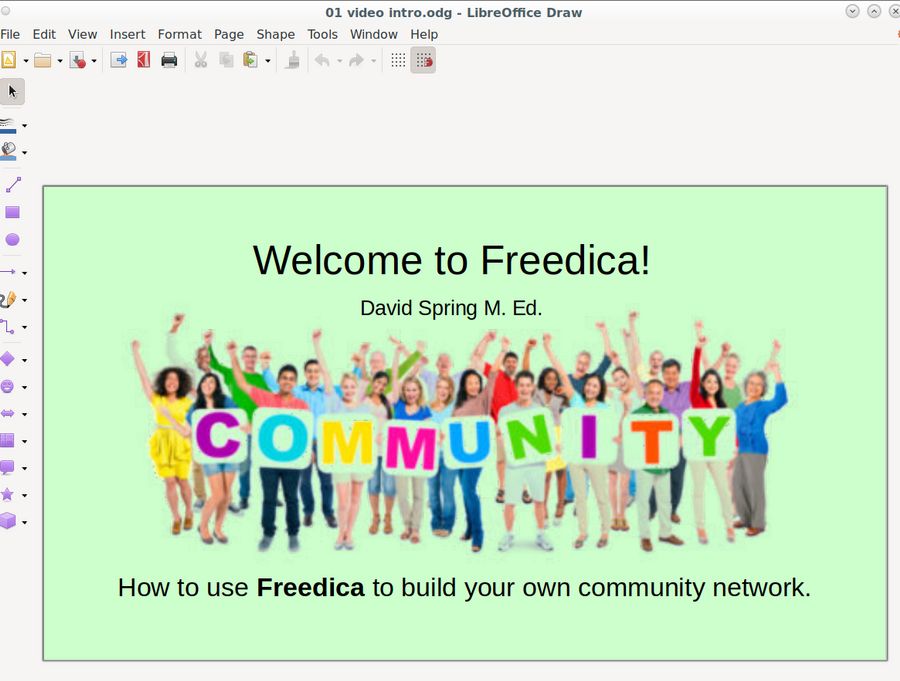
It was created with one text box at the top and another one at the bottom. In between is an image. The image originally had a white background. It was made transparent by selecting it and clicking on Tools, Color Replacer:
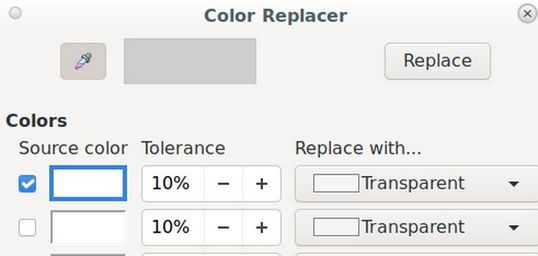
With this tool, you can use the color picker to make any color transparent. To make white transparent, just click Replace.
Capture Images with Flameshot
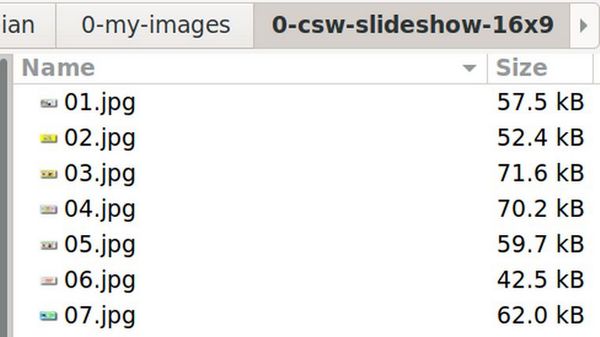
Once you are finished placing your images and text boxes in the workspace, use Flameshot to capture each image and place it in a Writer document. Right click and compress each image to 150 DPI. Then create a slideshow images folder. Then right click on each image and click Save As and save the images as 01, 02, 03, etc.
Note that the file size for each image is under 100kb.
Use Gthumb to resize and then crop each image
Once you have saved all of your slideshow images to a slideshow folder, start the Gthumb image editor and go to your slideshow folder. Then select your first slideshow image:

In the lower right corner, click Format, Resize
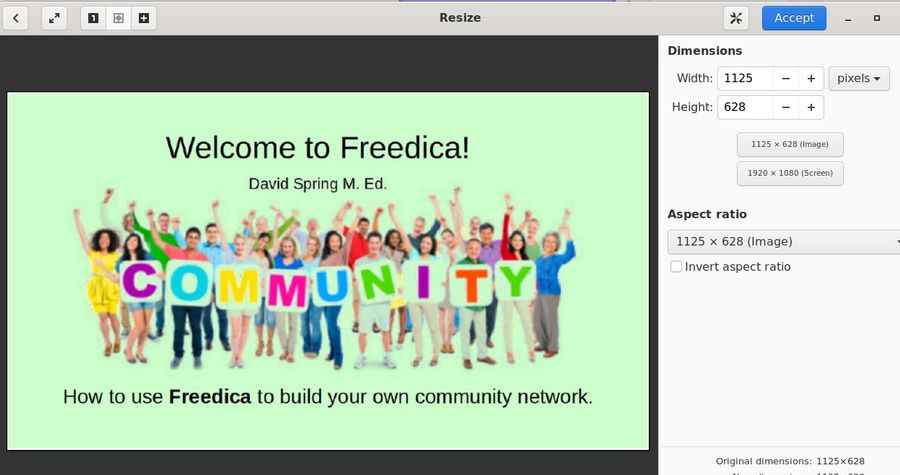
This image is 1125 by 628. We want 1000 x 562 which is a 16 x 9 ratio. Therefore reduce the height to 562 and click the blue Accept button. The width is now 1007. So click the Crop icon in the lower right corner and click Maximize. Then crop with the width to 1000.
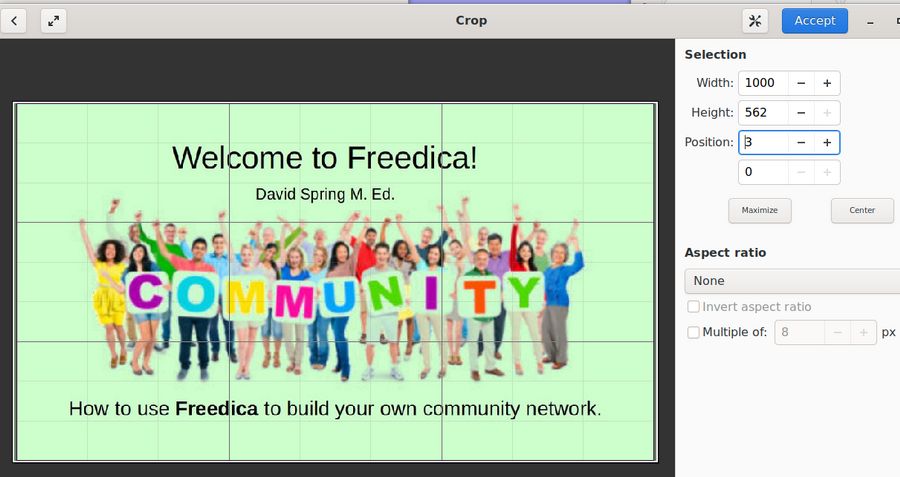
Then click Accept. Then click the Save As icon in the upper right corner to save the image as 01-1000.jpg.
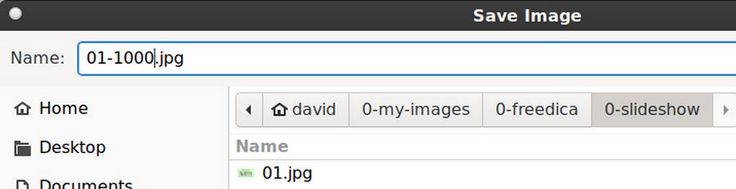
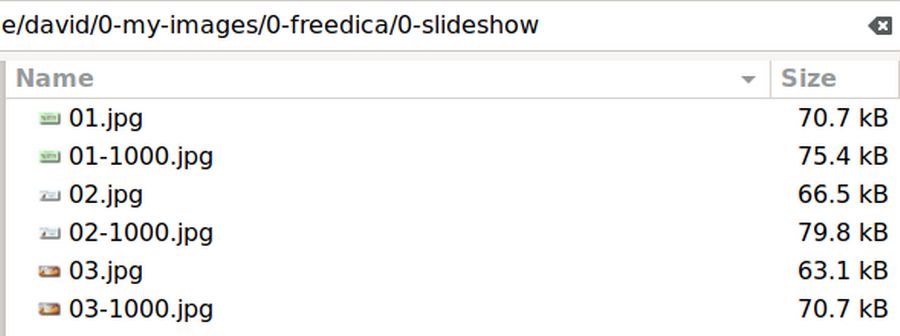
Then repeat with the remaining images. Your slideshow images folder will now have the original images plus a version of each image set for 1000 pixels wide by 562 pixels high (16 x 9 ratio).
Use Libre Impress to turn your slides into a Presentation
We will next use the 1000 pixel wide images to make a Libre Impress Slide Presentation. Click File, New, Presentation.
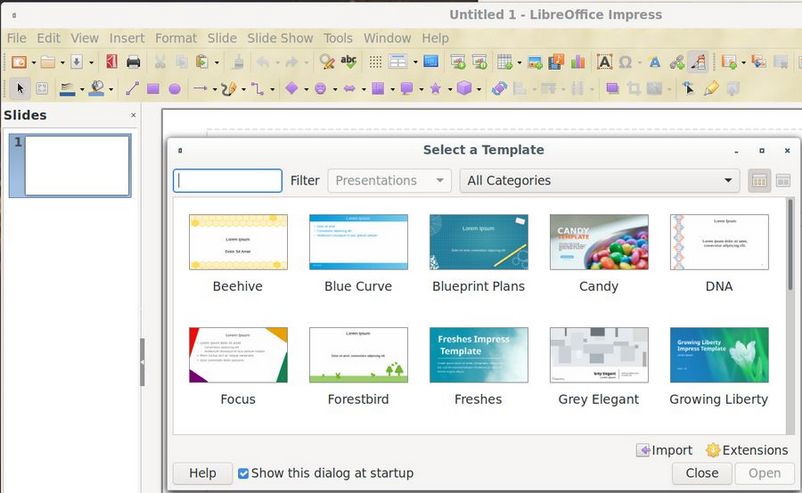
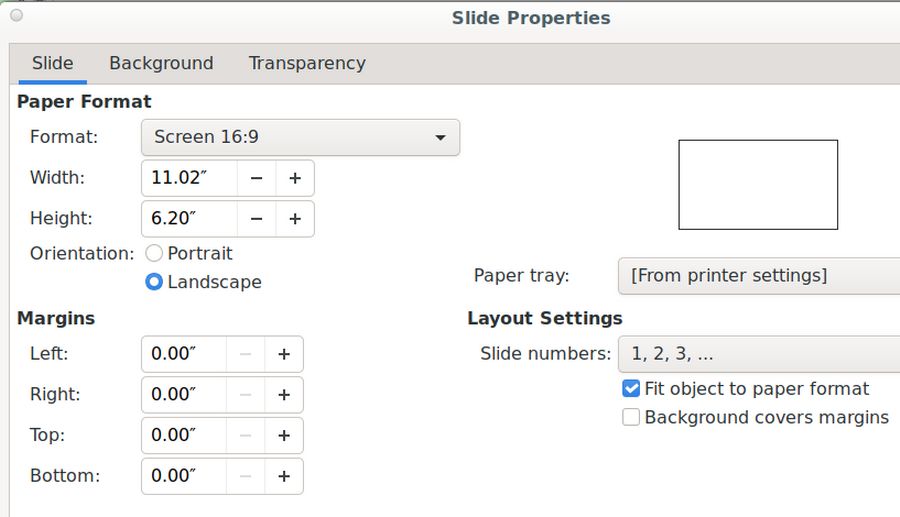
Select a template or just close the template screen. Then click Slide, Slide Properties and select the Format called Screen 16:9 and click Save.
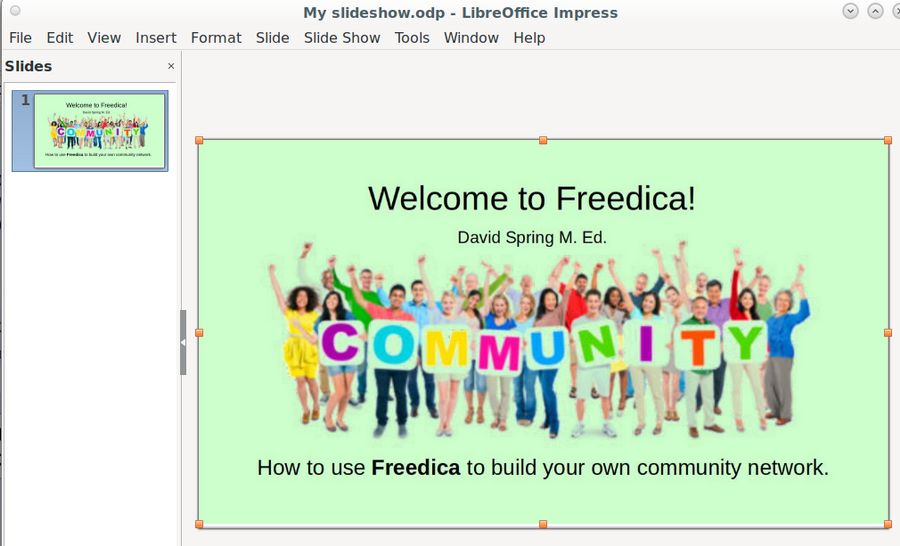
Save the Presentation as My Slideshow. Click View, Slide Pane. Then delete the text boxes and copy paste the first image (01-1000) into the first slide:
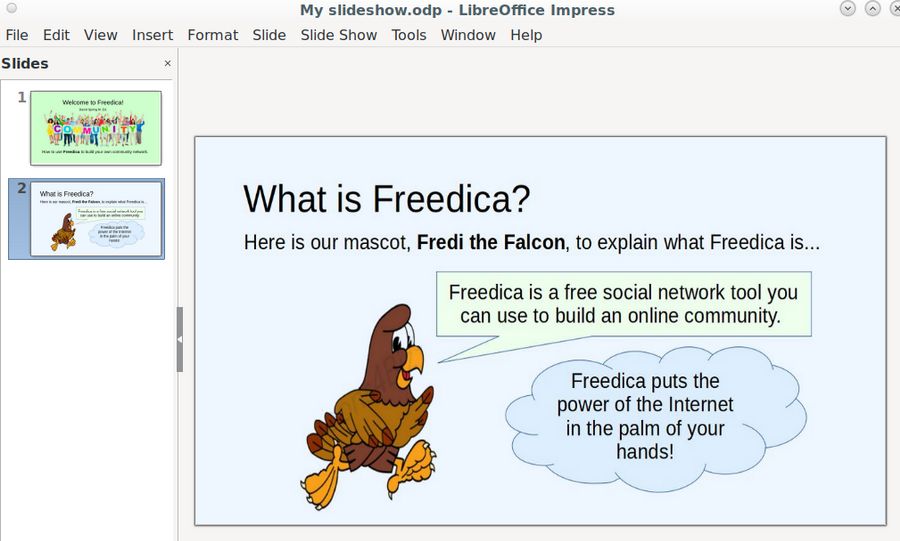
Then right click on the slide in the left slide pane and click Duplicate Slide. Delete the first image. Then copy paste the second 1000 pixel wide image into the second slide.
Repeat to add the remaining slides. To start the slideshow, click Slideshow, Start from First Slide. To advance the slides, click on the right arrow on your keyboard. To escape Full screen, press the Escape key in the upper left corner of your key board.
Create a similar slideshow for the Home page of your website
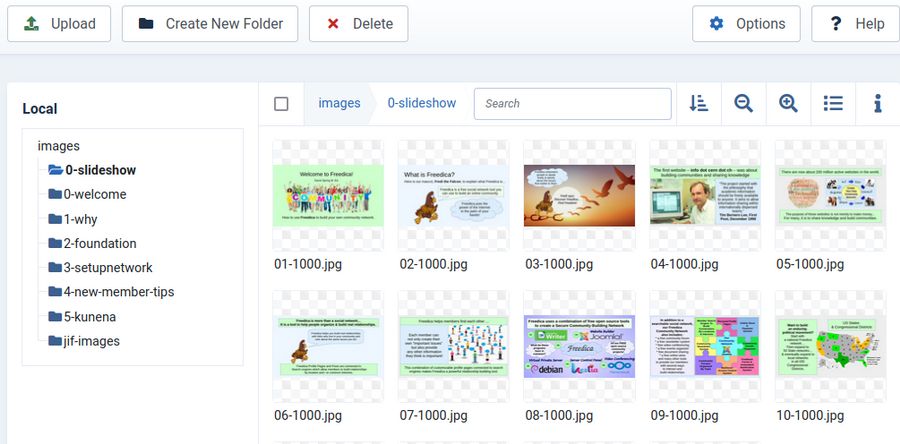
To create a similar slideshow for the Home page of our website, log into your Joomla Dashboard and click Content Media. Then create a folder called 0-slideshow. Then click on the 0-slideshow folder to open it. Then click Upload and upload all of the 1000 pixel wide images we created earlier.
Download the DJ Image Slider Extension
Go to the Joomla Extensions Directory Slideshow category. The most popular free slideshow is called DJ Image Slider. Here is the direct link: https://extensions.joomla.org/extension/photos-a-images/slideshow/dj-imageslider/
Click Download. Then go to System, Install, Extensions to install the Slideshow. Then click Components, DJ Image Slider categories and click new to create a category called Home Slideshow
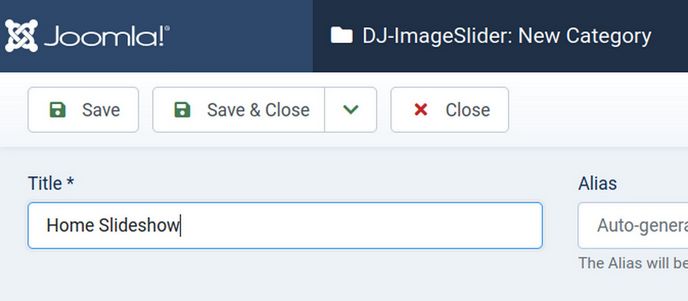
Click Save and Close.
Add Slides to the Slideshow one at a time
Click Slides. New. For Title, type 01.
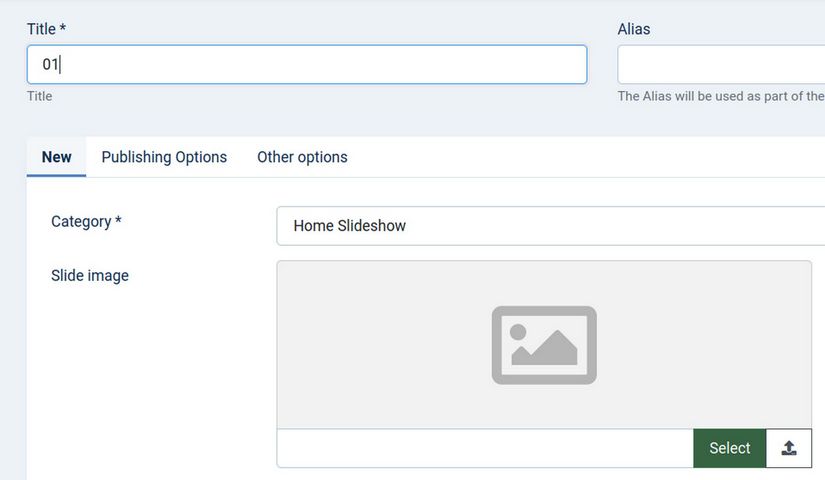
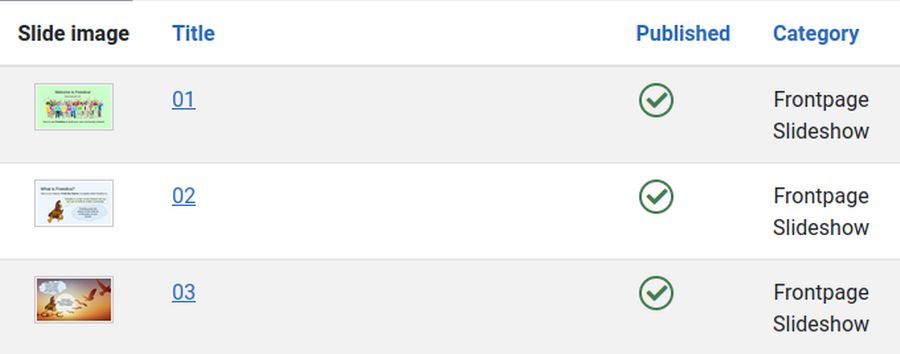
Then click Select and click on the 01 image to select it. Click Insert. Then click Save and New. Name the second slide 02 and select the second image. Click Save and New to add the remaining slides. Here is what the slide list will look like when we are done:
Use the Helix Template to create a row for the slideshow
From your Dashboard, click Template, Styles, Helix, Template Options. Then click Layout. Then click the hidden plus sign above the Main Body row and create a new row called Slideshow. Assign the slider module position to this row:
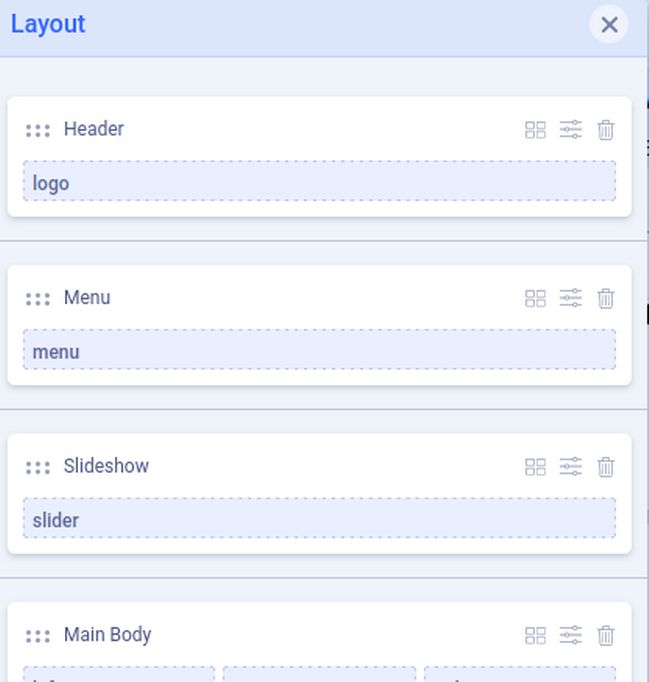
Set the background color for the slideshow row to #000000 (black). Then save and close the template edit screen.
Configure the Slideshow Module
Click Content, Site Modules. Click on the DJ Image Slider module to edit it. Change its name to Home Slideshow and publish it in the Helix Slider position. Turn off Show Title.
Leave Slider Source at Component. Then set the Slides category to Homepage Slideshow. Then scroll down to Basic Slider Settings and change the slider width to 800 and the height to 450. Change Vertical image centering to Yes and Visible Images to 1.
Then click the Menu Assignment tab and change it to Only on selected pages. Click None. Then select the Home page.
Then click the Customize Slider tab. Scroll down and change the Next Slide Delay to 9000 (9 seconds) meaning that each slide will show for 9 seconds and 12 slides will show in two minutes. Then click Save and Close and view the result.
Congratulations! You now have a Home Page Slideshow.
What’s Next?
In our next article, we will review how to use the same slideshow we just created to add a promotional video to our articles and modules.