
One way to encourage new members to join your network is to pass out promotional fliers at events. A folder over flier is made by changing a standard letter size sheet of paper to landscape and then folding it over to create a flier 5.5 inches wide by 8 inches tall – and with four customizable panels. In this article, we will explain how to use Libre Writer to create and customize a printable Fold Over Flier. Our plan is to convert these fliers into downloadable PDF documents that our members can share with friends and family. We will also print a few hundred of these fliers to share with out neighbors at local events.
Step 1 Flier Page Layout
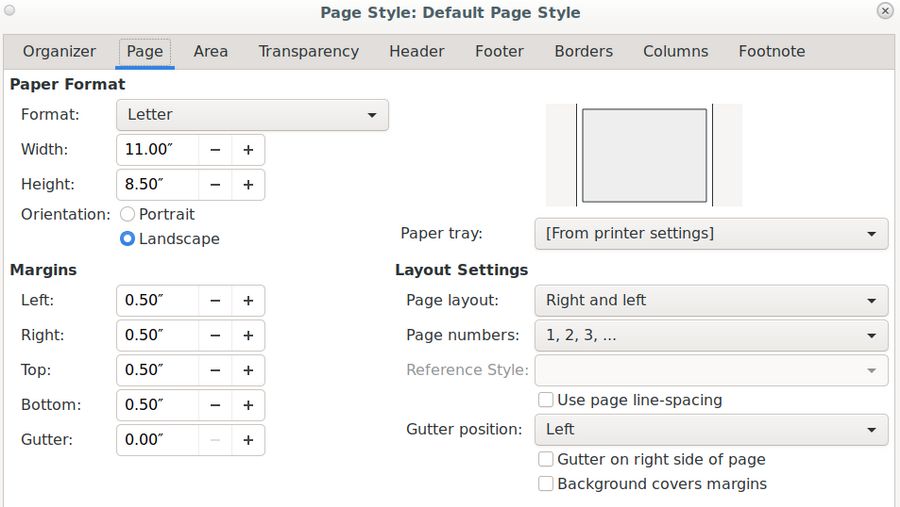
Libre Writer offers several features that make it easy to create a fold over flier. Open a new Writer document and save it as Freedica Fold Over Flier Template. Then click Format, Page Style, Page tab. Change the Orientation from Portrait to Landscape and change the margins to 0.5 inches. Also uncheck Background covers margins.
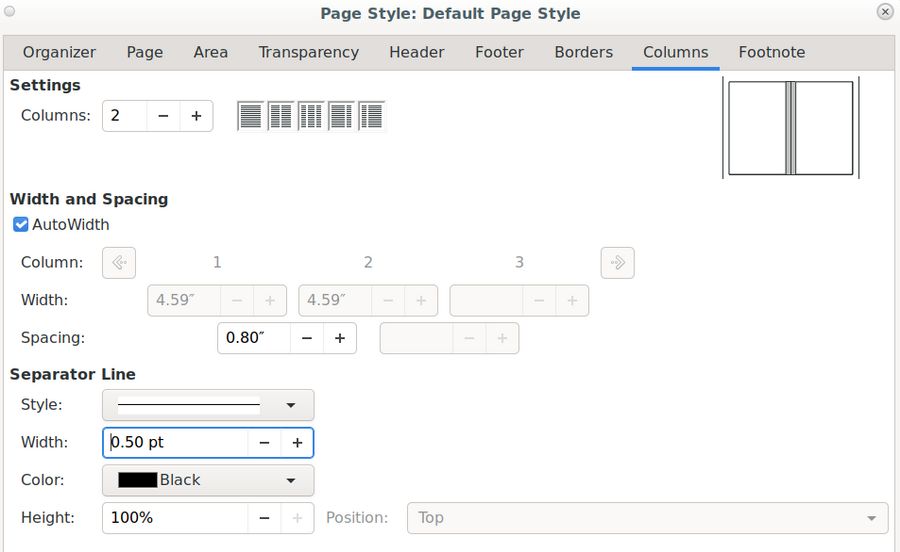
Then click Apply. Then click the Columns tab and change the number of columns from 1 to 2. Also change spacing to 0.8 inches and change the Separator Line to Solid 0.50 pt.
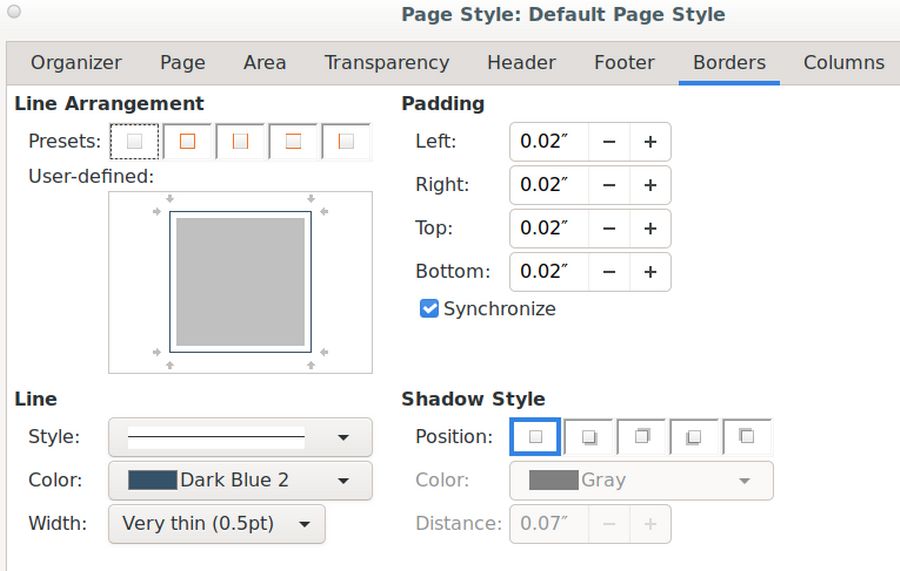
Then click the Borders tab and change the Presets to All Four Sides. Also increase the Line Width to 0.5pt:
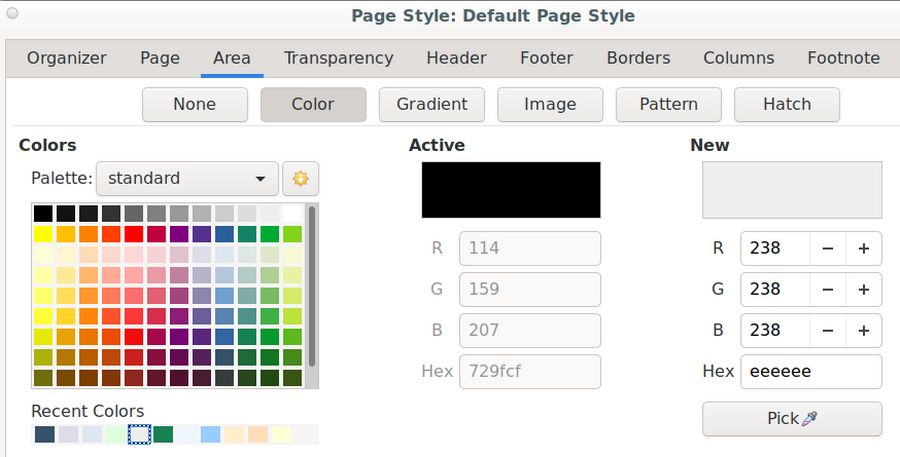
Then click the Area tab and Click Color. Change the area to #EEEEEE which is light gray:
Add a Heading 1 title to the top of each column. Here is the result:
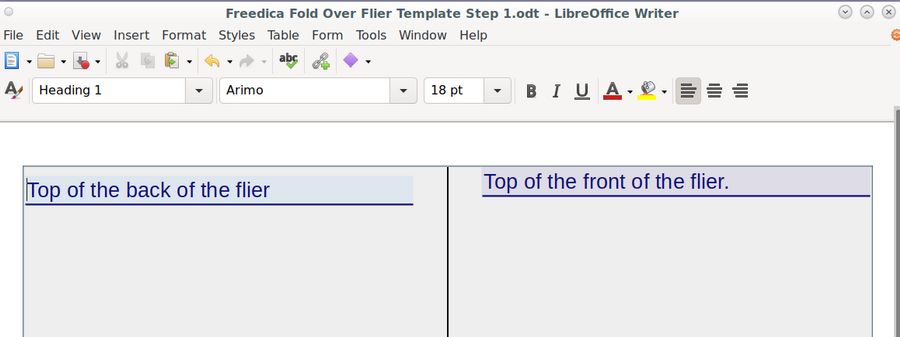
We will eventually hide the borders and the background color. But leave them for now as they will help us to better see the layout. Tab down the page to create a second page which will be the two sides of the inside folder after the flier is printed back to back. Add a Heading 1 title to the top of each column on the second page.
Here is the result for the second page of the flier layout:

Step 2 Flier Page Content for the Front and Back pages
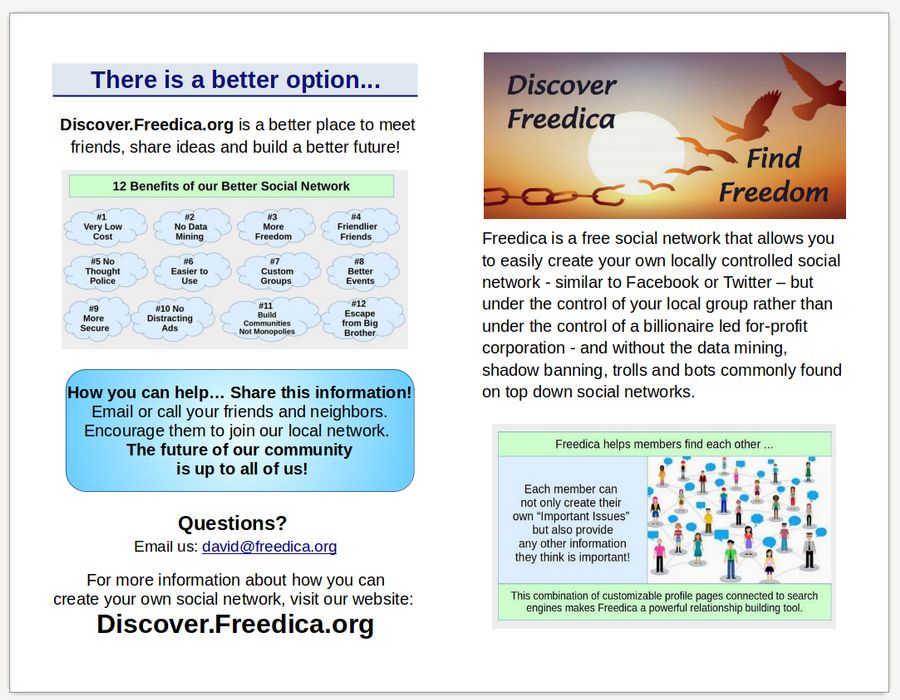
Here is an example of what our fold over flier finished front and back pages might look like before we remove the background color and the borders.

It is important to have images on the front and back pages and to limit the amount of text. The front page is actually the column on the right. When we are done, we will delete the title so that the image will act as a header image for the flier. The paragraph on the front page should explain why the reader should finish reading the flier. This is followed by a second image.
The back page might begin with a title and some text. This is followed by an image summarizing the benefits of our program. Below this is a text box, which is also the “Call to Action” area. It is important that your flier ask others to help you. At the bottom of the back page are links for questions and for finding our more information about this new tool.
Step 3 Flier Page Content for the Inside pages
The inside pages can be used to provide more detailed information.
Here is an example of what our fold over flier finished inside pages might look like before we remove the background color and the borders.
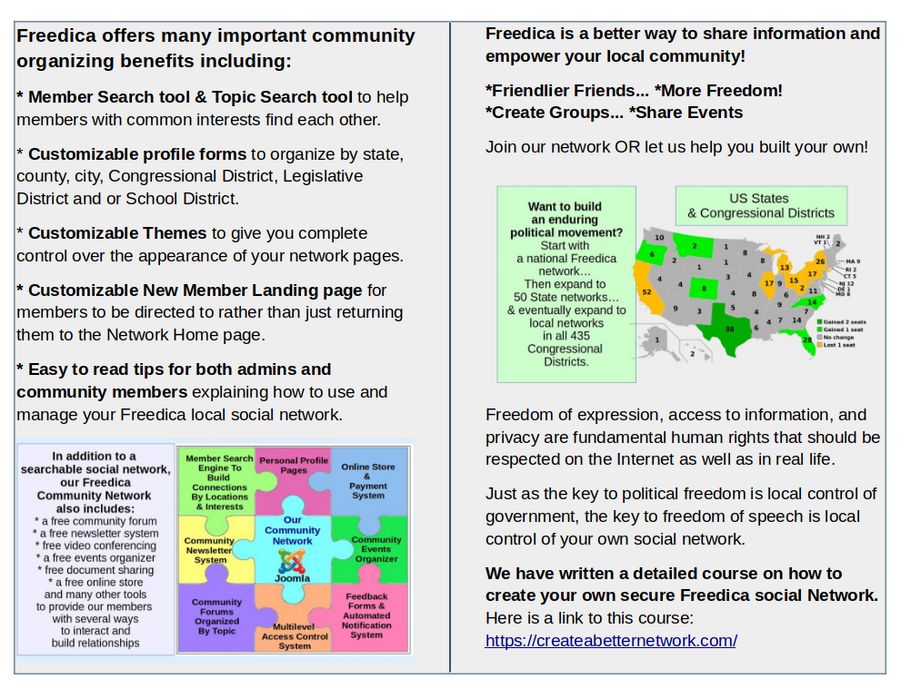
While there can be more text on the inside pages, you still want at least one image in both the right and left columns. Remember that the goal of the flier is not to explain everything. Rather it is to provide a quick summary in order to motivate the reader to find out more about this new tool. The reader should be able to read all four pages in under two minutes.
Step 4 Customize the flier by changing the name, images and text to link to your own social network.
On our website Freedica.org, we offer the flier as a free download in both a Libre Writer and PDF format. You could just print the PDF of this flier and pass it out in your community to see if others in your community would be willing to work with you in creating your own local social network. Or you could get your own domain name and server as we explain on our course website and then change the text and images on the flier in order to promote your own local Freedica network.
Step 5 Remove the background color and borders
Click Format Page to remove the background and borders. Here is the result for the front and back pages:
Step 6 Printing Tips
When you are done creating your changes, you could create a PDF. Click File, Properties and delete the Description. Then click File, Export As. Export as PDF. This will appear:
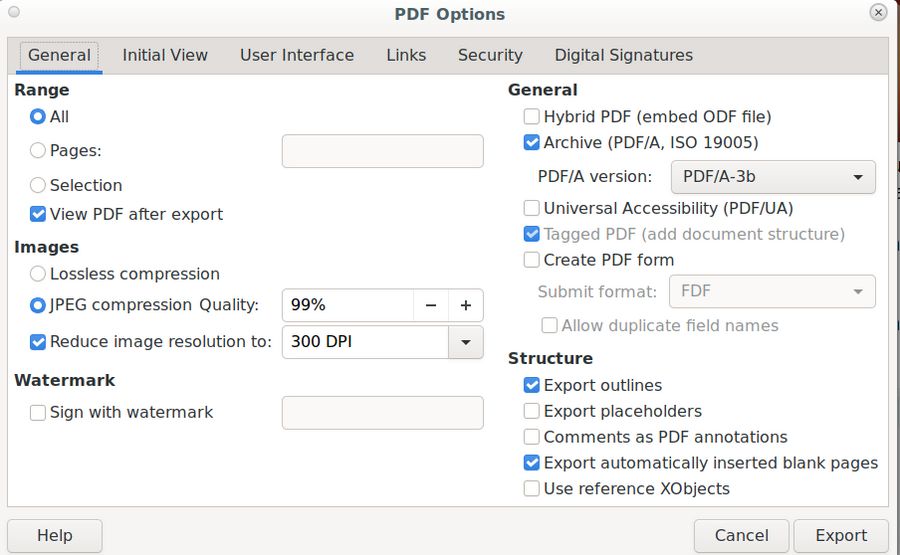
Leave DPI at 300. Then click Export.
We will name the file Freedica Informational Flier. Then take the PDF to your local printer to print off 100 back to back copies which you can then pass out in your community.
Alternately, you could print off the copies on your home printer. I have tested many home printers and printed literally thousands of fliers for various community organizing campaigns. With most printer brands, the color is not very good. With others, the cost of the replacement cartridges is extremely high. If you eventually plan on printing thousands of fliers, you may want to consider getting a state of the art printer. The one I recommend is the Canon GX 6021. Despite claims to the contrary, this printer works well with the Linux Debian operating system. It is a slow printer in that it only prints about 6 color pages per minute. However, the color quality is extremely high and the ink cost is extremely low.
Using your own home printer, gives you the flexibility to print only 50 copies at a time and to customize different versions of the flier for different groups.
Step 7: Offer your flier as a free download on your Network Joomla website
Printing fliers is a bit old fashion. The modern way to share information is to email a PDF copy of your flier to friends and family – and encourage them to share this information with folks they know. Another way to do this is to set up a Free Downloads page on your website. We have written a tutorial on how to do this. See this link:
https://createabetternetwork.com/more-steps/6-promote-your-network/6-4-add-a-free-download-manager
Here is a link to download a copy of our Libre Writer Freedica Informational flier and associated PDF flier:
https://freedica.org/free-downloads
What’s Next?
In our next article, we will review how we created our Freedica Tips and how you can customize these tips for your own local network.